
I still remember the first time I laid eyes on a Waving Flag Cake. It was during a Fourth of July picnic at my friend Sarah’s house. The sun was shining bright, and the scent of grilled burgers filled the air. As we gathered around the picnic table, my eyes were immediately drawn to this stunning cake adorned with fresh strawberries and blueberries, laid out like a flag waving in the summer breeze. It was a masterpiece! Sarah’s mom crafted it, and I couldn’t help but feel a rush of excitement. Everyone was taking pictures, and I thought, “Wow, I need to learn how to make this!”
Fast forward to a few years later, and I finally decided to tackle the Waving Flag Cake myself. I gathered my ingredients, pulled out my trusty baking tools, and got to work. The whole process felt like a celebration in itself, mixing the batter and layering the frosting. When my cake came out of the oven, it looked gorgeous, but I still had the fun part ahead: decorating it! I felt like a kid again, painstakingly arranging the strawberries and blueberries to form the stars and stripes. When my family saw it, their eyes lit up, and I knew I had done something special.
That’s what the Waving Flag Cake is all about—bringing people together and celebrating moments that matter. Whether it’s a holiday, a birthday, or just a sunny Sunday afternoon, this cake is sure to be the centerpiece that makes everyone smile. You can’t help but feel pride when you serve it, and trust me, once you make it, you’ll want to whip it out for every occasion, just like I do!
Why This Waving Flag Cake Recipe Will Become Your Go-To
This Waving Flag Cake recipe stands out because it’s not just about the looks; it’s also about the flavor. The fluffy vanilla cake pairs perfectly with the rich buttercream frosting, creating a delightful balance that everyone loves. Plus, the fresh berries add a burst of natural sweetness and a pop of color that’ll have your guests snapping photos before they even take a bite!
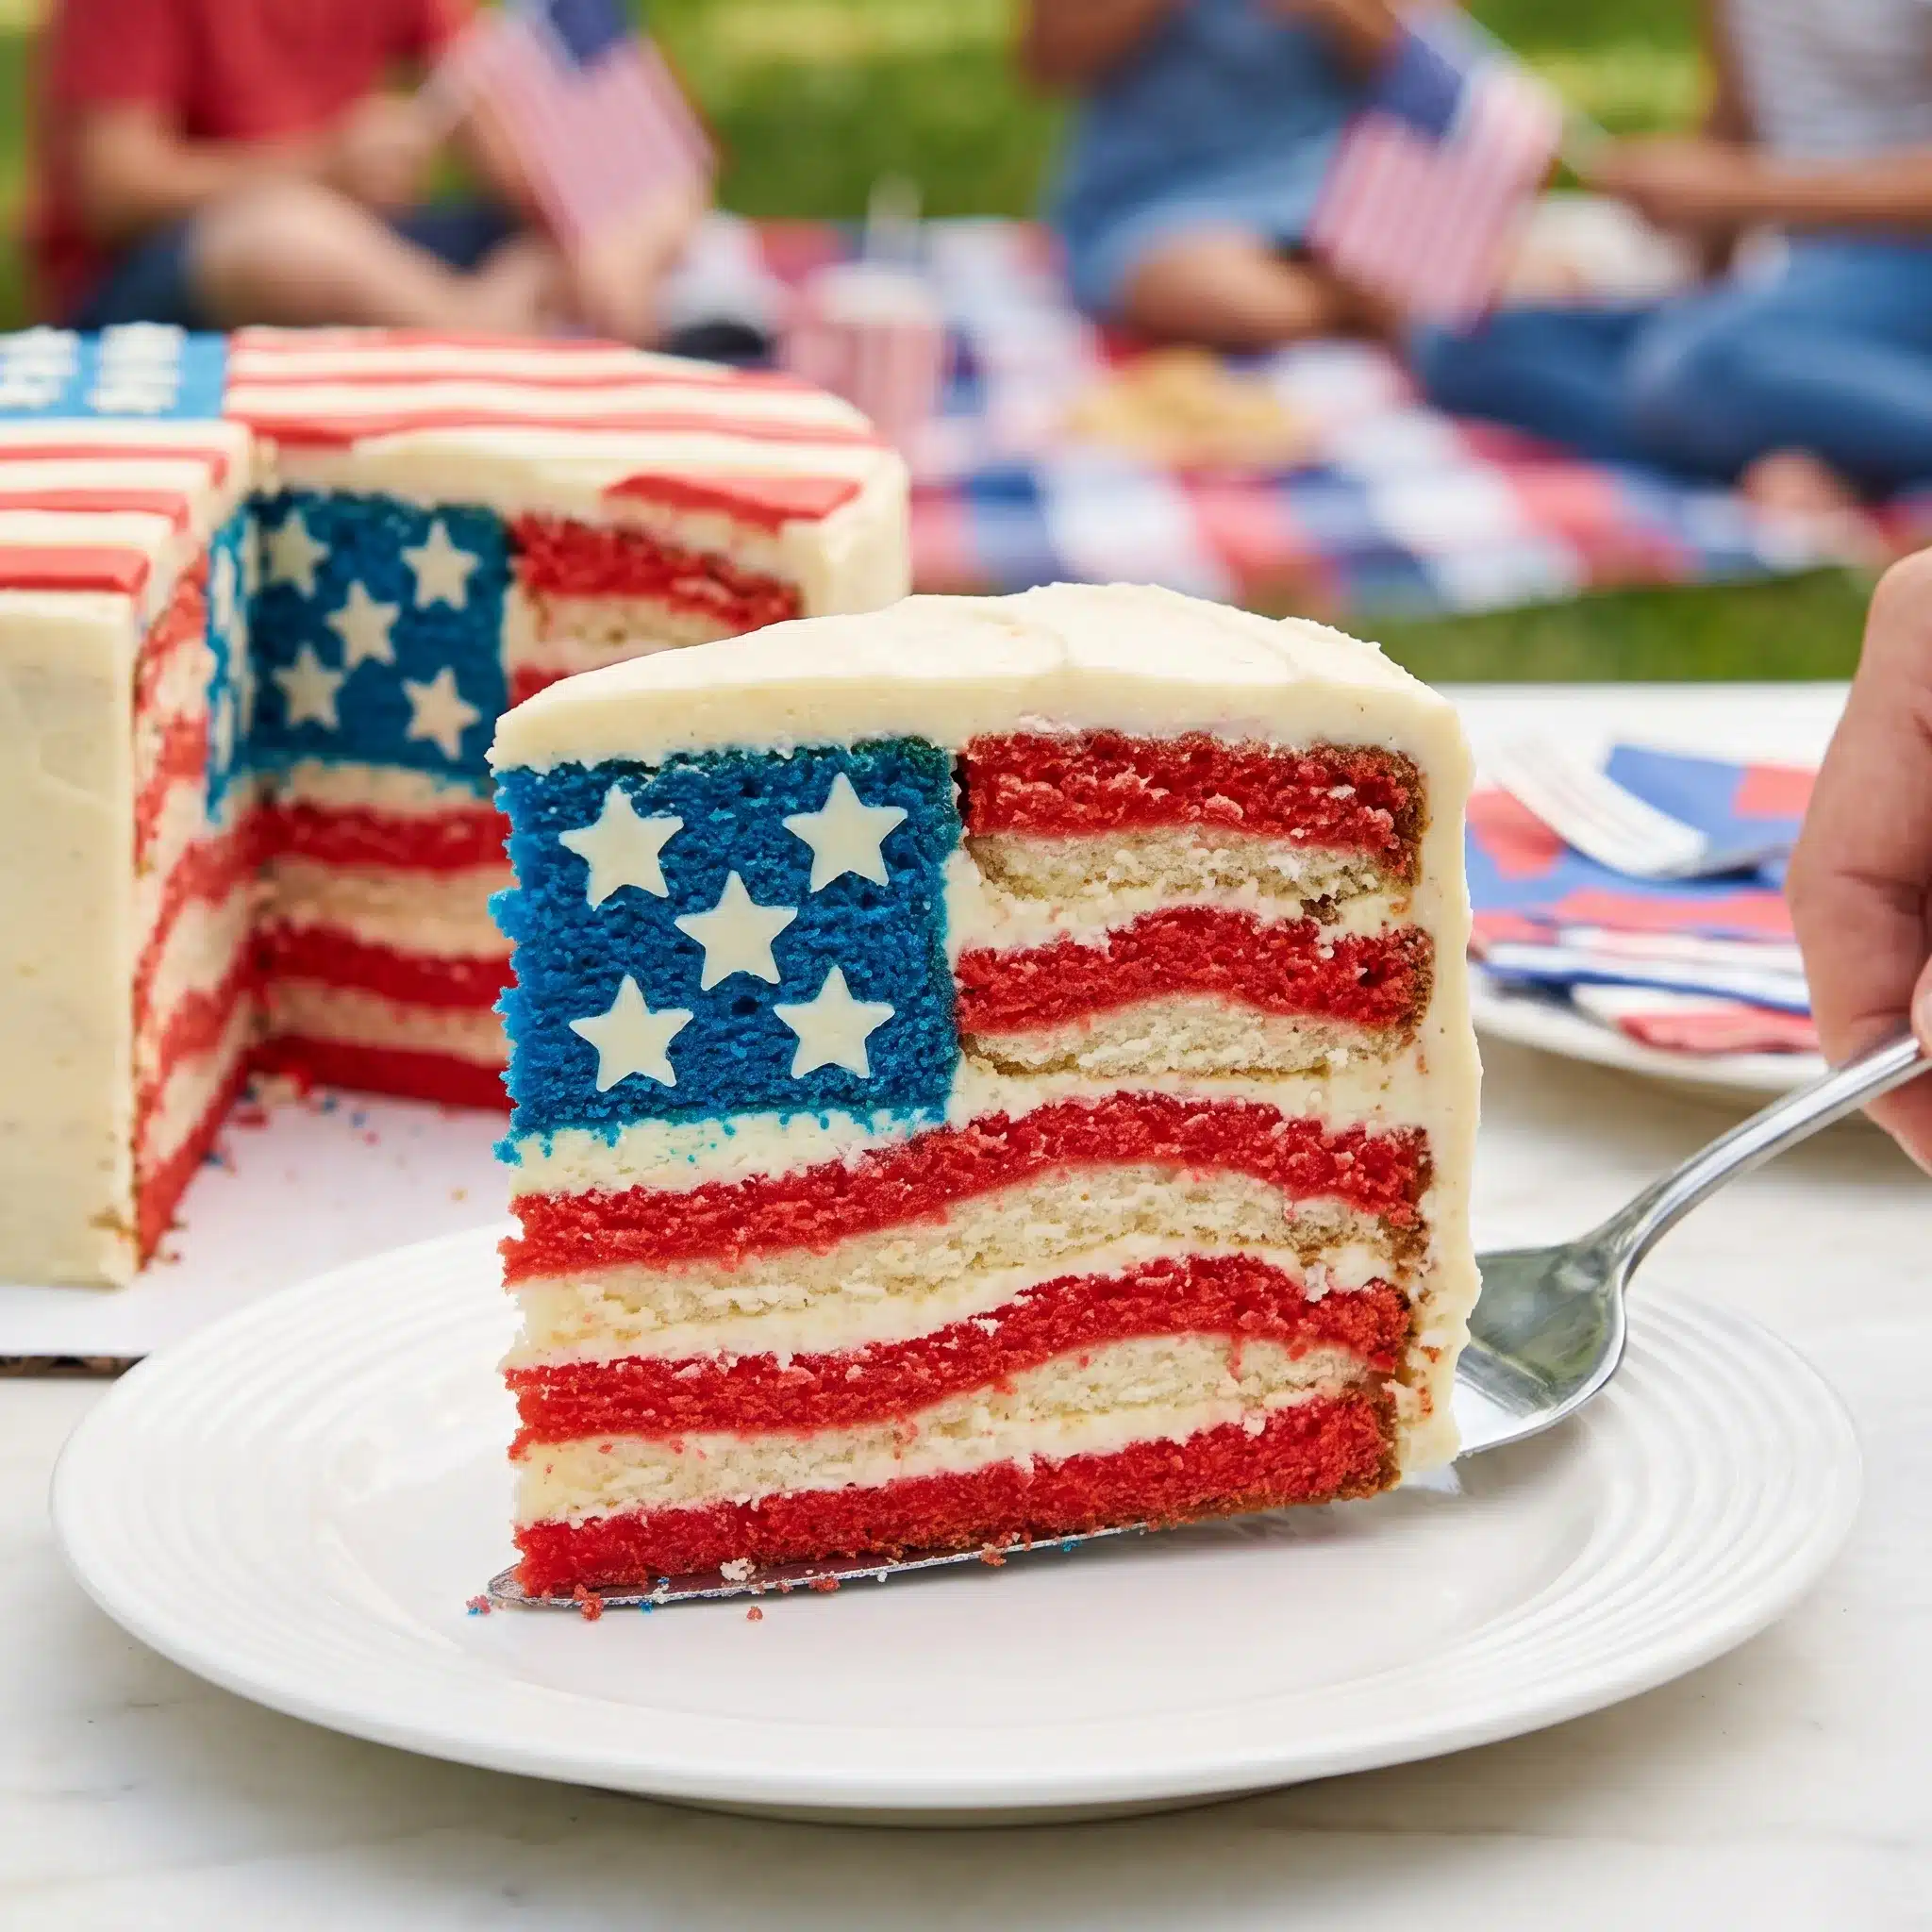
What really makes this recipe unique is the layering technique. By baking the cake in two rounds and stacking them, you create a beautiful height that enhances the presentation. It’s surprisingly simple yet so effective! And let’s not forget the versatility. You can easily switch up the frosting flavors or even the fruits based on the season or your personal preferences.
You’ll love how easy it is to put together, even if you’re not an experienced baker. The vibrant, festive look makes it ideal for any celebration, and it’s a guaranteed crowd-pleaser. Once you try this Waving Flag Cake, it’ll become your go-to recipe for all your summer festivities!
The Secret Behind Perfect Waving Flag Cake
The secret to achieving the perfect Waving Flag Cake lies in the quality of the ingredients and the attention to detail in the baking process. Using high-quality vanilla extract and fresh fruits makes a world of difference in flavor.
Another key element is the temperature of your ingredients. Make sure your eggs, butter, and milk are at room temperature before starting. This helps create a smooth, well-incorporated batter that results in a light, fluffy cake.
Finally, take your time when decorating. It’s all about those little details! Arranging the fruit carefully ensures that your cake not only tastes great but looks stunning too.
Essential Ingredients You’ll Need
For this Waving Flag Cake, you’ll need:
All-purpose flour: This forms the base of your cake, giving it structure and stability.
Granulated sugar: It sweetens the batter, creating that delightful flavor we all love.
Baking powder: This leavening agent ensures your cake rises beautifully.
Salt: Just a pinch enhances the sweetness and balances the flavors.
Unsalted butter: For a rich, creamy texture that adds moisture.
Eggs: They bind everything together and help with leavening.
Whole milk: This keeps the cake moist and tender, adding depth to the flavor.
Vanilla extract: It infuses the cake with a warm, inviting aroma.
Fresh strawberries and blueberries: These are essential for that iconic flag design, providing a burst of color and natural sweetness.
Buttercream frosting: This creamy topping holds the flag design together and adds an extra layer of indulgence.
Step-by-Step Waving Flag Cake Instructions
Baking a Waving Flag Cake is a fun and straightforward process. It takes about 1 hour and 30 minutes from start to finish, including baking and decorating. You’ll need two 9-inch round cake pans, mixing bowls, a whisk, and a spatula.
1- Preheat your oven to 350°F (175°C). Grease your cake pans and line them with parchment paper for easy removal later.
2- In a large mixing bowl, whisk together the flour, baking powder, and salt. In another bowl, cream the unsalted butter and sugar until light and fluffy, about 3-5 minutes. Then, add the eggs one at a time, mixing well after each addition. Pour in the vanilla extract.
3- Gradually add the dry ingredients to the wet mixture, alternating with the whole milk. Start and end with the flour mixture. Mix until just combined; over-mixing can lead to a dense cake.
4- Divide the batter evenly between the two prepared cake pans. Bake in the preheated oven for 25-30 minutes, or until a toothpick inserted into the center comes out clean. Let the cakes cool in the pans for 10 minutes before transferring them to a wire rack to cool completely.
5- While the cakes cool, prepare the buttercream frosting. Beat the softened butter until creamy, then gradually add powdered sugar and milk, mixing until smooth and fluffy.
6- Once the cakes are completely cooled, place one layer on your serving platter. Spread a generous layer of buttercream on top, then add the second layer. Use the remaining buttercream to frost the top and sides of the cake. Finally, arrange the strawberries and blueberries on top to create the flag design.
Pro Tips for Success
To ensure your Waving Flag Cake turns out perfectly, here are some expert tips. First, always measure your ingredients accurately. Too much flour can lead to a dry cake, while too little can cause it to collapse.
Make sure your cakes are completely cool before frosting; otherwise, the buttercream will melt and slide off. If you want a cleaner look, use a bench scraper to smooth the sides of your cake.
Finally, don’t rush the decorating process. Take your time arranging the berries; it’s worth the effort for that stunning presentation!
Serving and Storing Your Waving Flag Cake
Perfect Pairings for Waving Flag Cake
Waving Flag Cake is perfect for any summer gathering. Serve it with a scoop of vanilla ice cream or a drizzle of chocolate sauce for an indulgent treat. It pairs beautifully with fresh lemonade or iced tea, making it an ideal choice for warm-weather celebrations.
Consider serving it alongside a fruit salad or a light, refreshing salad to balance the sweetness of the cake. It’s perfect for Fourth of July picnics, birthday parties, or any festive occasion where you want to impress your guests.
Storage and Make-Ahead Tips
If you want to prepare the Waving Flag Cake ahead of time, you can bake the cake layers a day or two in advance. Just wrap them tightly in plastic wrap and store them in the refrigerator. When you’re ready to serve, frost and decorate the cake.
Store any leftovers in an airtight container in the fridge for up to five days. If you find the cake getting a bit dry, a light drizzle of milk can help revive it. Just remember, the beauty of this cake lies in its fresh fruit toppings, so it’s best enjoyed within a couple of days of decorating.
Variations and Dietary Adaptations for Waving Flag Cake
Creative Waving Flag Cake Variations
Feeling adventurous? You can easily switch up the flavors and fruits in your Waving Flag Cake. Try adding lemon zest to the batter for a refreshing twist or substituting chocolate cake for the vanilla base.
For a seasonal touch, consider using raspberries in the summer or even pumpkin puree in the fall for a festive flavor. You can also experiment with different frosting flavors like cream cheese or chocolate ganache to complement the fruits.
Making Waving Flag Cake Diet-Friendly
If you’re looking to adapt this Waving Flag Cake for dietary restrictions, there are plenty of options. For a gluten-free version, substitute all-purpose flour with a 1:1 gluten-free baking blend.
To make it vegan, replace the eggs with flax eggs and use a dairy-free butter alternative. You can also use almond or oat milk instead of whole milk. These substitutions maintain the integrity of the cake while accommodating various diets.
Frequently Asked Questions
Q: Can I use a different type of fruit for the flag design?
A: Absolutely! Feel free to get creative with your fruit choices. Bananas, kiwi, or even edible flowers could make for a beautiful design.
Q: How do I tell when the cake is done baking?
A: A toothpick inserted into the center of the cake should come out clean or with a few crumbs attached. If it’s wet, give it a few more minutes.
Q: Can I freeze the Waving Flag Cake?
A: Yes! You can freeze the un-frosted layers for up to three months. Just wrap them tightly in plastic wrap and foil before freezing.
Q: How many servings does this cake make?
A: This cake serves about 12-16 people, depending on how large you slice the pieces. Perfect for parties!
Q: What should I do if my cake sinks in the middle?
A: A sinking cake usually means it was undercooked or overmixed. Make sure to bake until a toothpick comes out clean and mix the batter just until combined.

Waving Flag Cake
- Total Time: 50 minutes
- Yield: 12 servings
Description
Celebrate with a stunning Waving Flag Cake, featuring vibrant layers of red, white, and blue that make it perfect for festive occasions! This delicious cake is sure to impress your guests and sweeten your celebrations.
Ingredients
2 cups all-purpose flour
1 ½ cups granulated sugar
½ cup unsalted butter, softened
1 cup milk
3 large eggs
2 tsp baking powder
1 tsp vanilla extract
Red and blue food coloring
3 cups whipped cream
Fresh berries for decoration (optional)
Instructions
1. 1. Preheat your oven to 350°F (175°C).
2. 2. In a large bowl, cream together the butter and sugar until light and fluffy.
3. 3. Add eggs one at a time, mixing well after each addition.
4. 4. Stir in the milk and vanilla extract.
5. 5. Gradually mix in flour and baking powder until well combined.
6. 6. Divide the batter into three bowls and color one with red and the other with blue food coloring.
7. 7. In a greased cake pan, layer the colored batters alternately.
8. 8. Bake for 25-30 minutes or until a toothpick comes out clean.
9. 9. Allow the cake to cool completely before frosting with whipped cream.
10. 10. Decorate with fresh berries on top.
Notes
Store leftover cake in an airtight container in the fridge for up to 3 days. You can also use different colors for various holidays!
- Prep Time: 20 minutes
- Cook Time: 30 minutes
- Category: Dessert
- Method: Baking
- Cuisine: American
Conclusion
I can’t wait for you to try this Waving Flag Cake! It’s truly a showstopper that’ll impress your family and friends, making any gathering feel extra special. Plus, it’s an enjoyable baking experience that’s sure to create lasting memories. So, roll up your sleeves, get baking, and don’t forget to share your results in the comments below. I’d love to hear how your Waving Flag Cake turned out!