
I still remember the first time I laid eyes on a Fruit-Tart Flag at a summer picnic my family hosted in the backyard. The sun was shining, and the scent of grilled burgers wafted through the air, but what truly caught my attention was this stunning dessert that looked like it had been crafted by a pastry artist. The vibrant colors of the strawberries, blueberries, and whipped cream made it look like a work of art. My aunt had made it, and as she cut into the tart, the buttery crust crumbled perfectly, revealing layers of creamy filling and fresh fruit. I couldn’t wait to dig in!
As I took my first bite, the combination of flavors exploded in my mouth. The sweetness of the fruit paired with the slight tang of the cream was heavenly. Everyone around the table was raving about it, and I remember thinking that this Fruit-Tart Flag would be the highlight of every summer gathering from then on. Over the years, I’ve tried making my own versions, and each time, I find myself reminiscing about that perfect summer day. Whether it’s a Fourth of July celebration or a casual get-together, the Fruit-Tart Flag has become my go-to dessert recipe. It’s not just a tart; it’s a slice of nostalgia and joy that I love to share with friends and family.
Why This Fruit-Tart Flag Recipe Will Become Your Go-To
Let’s face it, the Fruit-Tart Flag isn’t just any dessert; it’s a showstopper. The beauty of this recipe lies in its simplicity and versatility. You can whip it up for any occasion, and it’s bound to impress. The sweet, buttery crust complements the creamy filling, while the fresh fruit adds a burst of flavor and color.
What makes this recipe special is that it’s easy enough for beginners yet sophisticated enough to wow your guests. You’ll learn some unique techniques, like how to create a flawless tart crust and how to arrange the fruit in a way that looks like the American flag. This visual appeal will have everyone reaching for their phones to snap a picture before they take a bite. Plus, it’s a fantastic way to sneak in some fruit into dessert, making it feel a bit healthier—at least that’s what I tell myself!
The Secret Behind Perfect Fruit-Tart Flag
The secret to a perfect Fruit-Tart Flag is all in the details. Using a combination of fresh, seasonal fruits not only enhances the taste but also ensures your tart looks vibrant. The creamy filling, often made with cream cheese and whipped cream, strikes a balance between rich and light. And let’s not forget the tart crust: it’s buttery, flaky, and the ideal base for all those beautiful toppings. By mastering this recipe, you’ll not only create a delicious dessert but also establish a tradition that your family will look forward to year after year.
Essential Ingredients You’ll Need
To make your Fruit-Tart Flag shine, here’s what you’ll need:
All-purpose flour
This forms the base of your tart crust, giving it that buttery flavor.
Unsalted butter
A key player for a rich and flaky crust, butter adds depth to your dessert.
Granulated sugar
A little sweetness in the crust balances out the flavors of the fruit and cream.
Cream cheese
This creates a creamy filling that pairs beautifully with the fresh fruit.
Heavy whipping cream
Whipped to perfection, it lightens the filling and adds a delightful texture.
Fresh strawberries
These not only add sweetness but also create the red stripes of the flag.
Fresh blueberries
These are perfect for the blue field of stars, bringing a burst of flavor.
Powdered sugar
For dusting and adding a touch of sweetness to your whipped cream topping.
Step-by-Step Fruit-Tart Flag Instructions
Getting ready to make your Fruit-Tart Flag is easier than you might think! With a total time of about an hour and a half (including chilling), you’ll need some essential kitchen equipment like a tart pan, mixing bowls, and a hand mixer to whip up that luscious cream. Let’s dive into the steps!
1- Start by preheating your oven to 350°F (175°C). In a mixing bowl, combine the flour, granulated sugar, and softened butter. Use your fingers or a pastry cutter to blend until the mixture resembles coarse crumbs.
2- Press this mixture into the bottom and up the sides of your tart pan. Don’t worry about perfection; a rustic look adds charm! Bake for about 20 minutes, or until the crust is golden brown. Let it cool completely.
3- While the crust cools, whip the cream cheese and powdered sugar in a bowl until smooth and creamy. Then, in another bowl, whip the heavy cream until soft peaks form. Gently fold the whipped cream into the cream cheese mixture until fully combined.
4- Once your tart crust has cooled, spread the cream filling evenly across the base. Use a spatula to ensure it’s nice and even, and then refrigerate it for about 30 minutes to set.
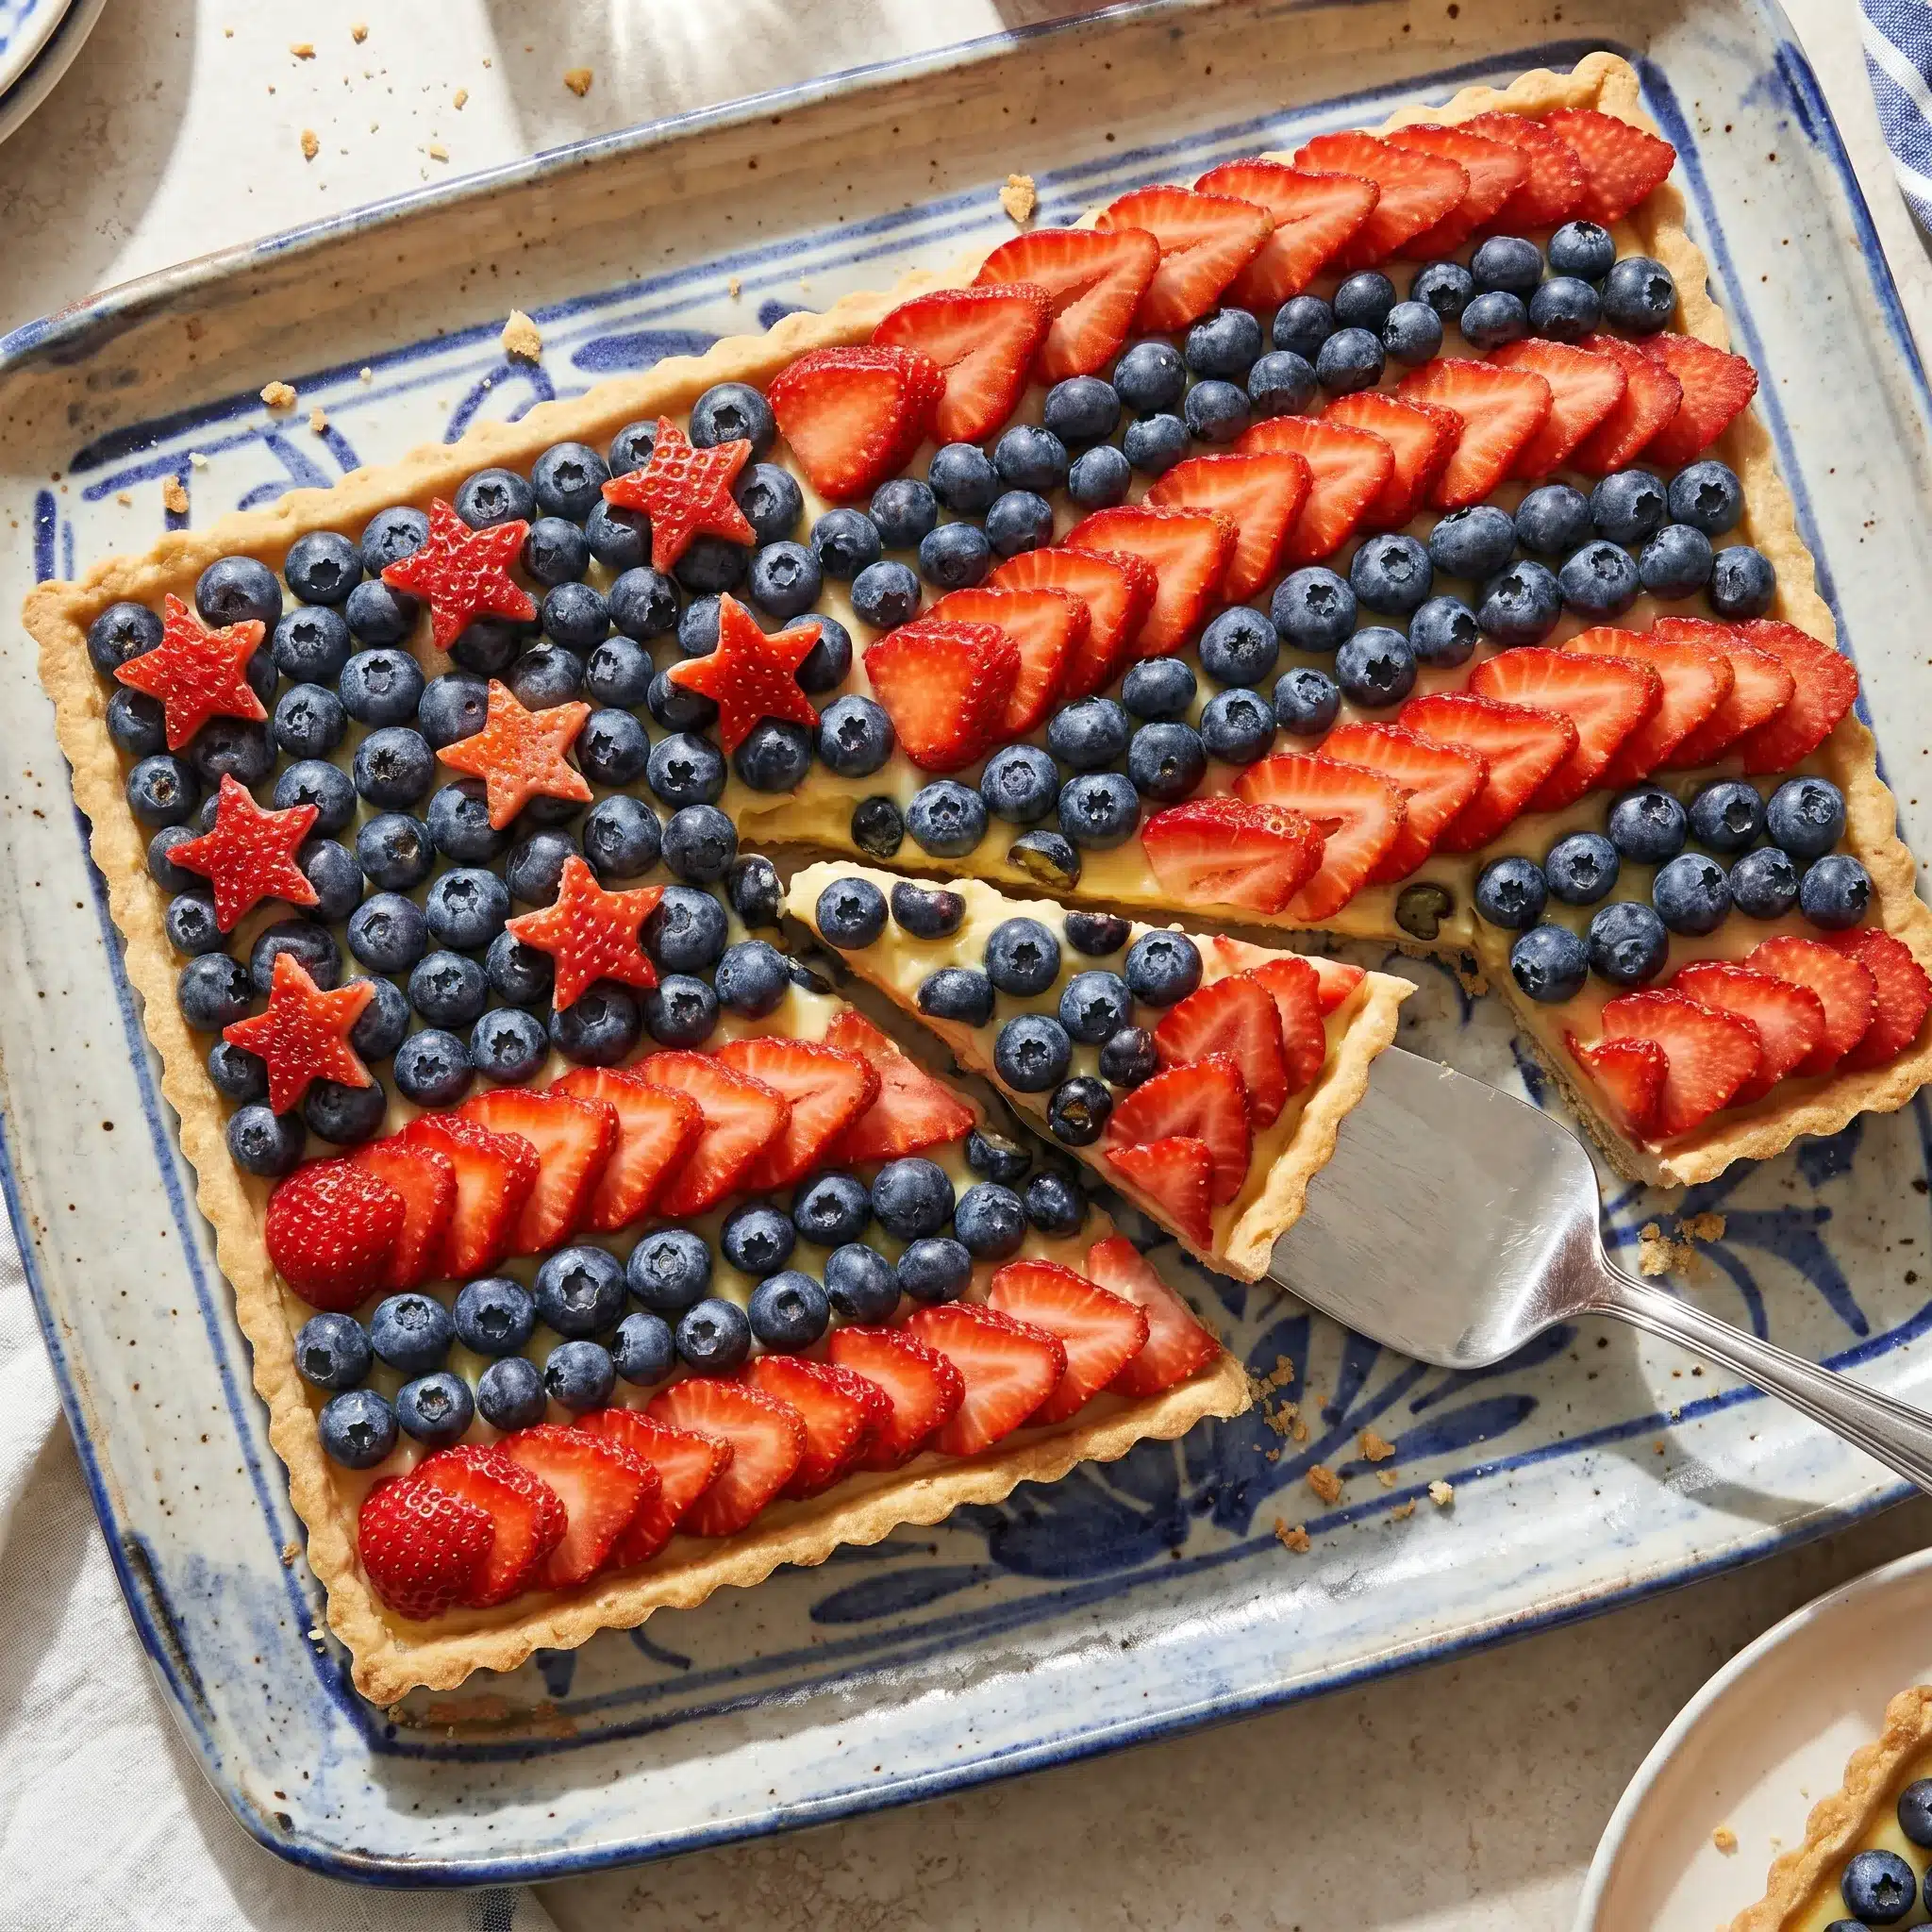
5- After chilling, it’s time to arrange your fruit! Start with the strawberries, placing them in rows to create the red stripes. Next, fill the blue field with blueberries in the upper-left corner, arranging them tightly to resemble stars.
6- Finally, you can garnish with a sprinkle of powdered sugar on top for an extra touch. Slice into wedges, and get ready to wow your friends and family with your gorgeous Fruit-Tart Flag!
Pro Tips for Success
For the best results, make sure your butter is cold when preparing the crust. This helps achieve that flaky texture we all love. Avoid over-mixing your cream filling to keep it light and fluffy. A common mistake is cutting the fruit too early—wait until you’re ready to serve to maintain freshness. Lastly, if you’re in a hurry, consider using a store-bought crust to save time!
Serving and Storing Your Fruit-Tart Flag
Perfect Pairings for Fruit-Tart Flag
Serving your Fruit-Tart Flag is a delight! It pairs beautifully with a scoop of vanilla ice cream or a dollop of whipped cream. For beverages, consider serving it alongside a refreshing lemonade or a chilled glass of rosé. It’s perfect for summer barbecues, Independence Day celebrations, or any festive occasion where you want to impress.
Storage and Make-Ahead Tips
You can store your Fruit-Tart Flag in the refrigerator for up to three days. Just keep it covered to maintain freshness. If you want to make it ahead of time, prepare the crust and filling separately a day in advance and assemble them the day you plan to serve it. This way, the fruit stays fresh, and you won’t have to rush!
Variations and Dietary Adaptations for Fruit-Tart Flag
Creative Fruit-Tart Flag Variations
Feel free to get creative with your Fruit-Tart Flag! You can use peaches and blackberries for a twist, or even mix up the cream filling with flavors like lemon or almond extract. Seasonal adaptations can include using citrus fruits in the winter or tropical fruits in the summer for a fun take on this classic dessert.
Making Fruit-Tart Flag Diet-Friendly
If you’re looking to make this dessert diet-friendly, consider using a gluten-free flour blend for the crust. For a vegan version, substitute the cream cheese with cashew cream and the heavy cream with coconut cream. And for a lower-carb option, you can make a crust using almond flour and sweeteners like erythritol.
Frequently Asked Questions
Q: Can I substitute the cream cheese for something else?
A: Absolutely! You can use mascarpone cheese for a richer flavor or a dairy-free cream cheese for a vegan option.
Q: How long should I chill the tart before serving?
A: Aim for at least 30 minutes to an hour so the filling sets properly. If you can chill it longer, that’s even better!
Q: Can I make this tart a day ahead?
A: Yes! Just store the crust and filling separately in the fridge and assemble just before serving for the freshest taste.
Q: How many servings does this recipe make?
A: This recipe typically serves about 8-10 people, depending on how generous your slices are!
Q: What should I do if my crust cracks?
A: Don’t worry too much! You can easily patch it with some extra crust dough or cover it with fruit to hide the imperfections.

Fruit-Tart Flag
- Total Time: 45
- Yield: 10 servings
- Diet: Vegetarian
Description
This stunning Fruit-Tart Flag combines a buttery crust, creamy filling, and an array of fresh fruits to create a show-stopping dessert perfect for any celebration.
Ingredients
1 pre-made tart crust
1 cup heavy cream
1/2 cup powdered sugar
1 teaspoon vanilla extract
1 cup strawberries, sliced
1 cup blueberries
1/2 cup raspberries (optional)
Instructions
1. 1. Preheat your oven as per crust instructions.
2. 2. Bake the tart crust according to package instructions and let it cool.
3. 3. In a mixing bowl, whip the heavy cream, powdered sugar, and vanilla extract until soft peaks form.
4. 4. Spread the whipped cream mixture evenly over the cooled tart crust.
5. 5. Arrange the strawberries, blueberries, and raspberries in a flag pattern on top of the cream.
6. 6. Chill the tart for at least an hour before serving.
Notes
Use seasonal fruits for the best flavor. The tart can be made a day ahead; store in the refrigerator.
- Prep Time: 30
- Cook Time: 15
- Category: Dessert
- Method: Baking
- Cuisine: American
Conclusion
I can’t wait for you to try making your own Fruit-Tart Flag! It’s not just a dessert; it’s a delightful experience that brings back those warm summer memories. So gather your ingredients, unleash your inner pastry chef, and enjoy every slice of this delicious tart. Don’t forget to share your creations in the comments below—I’d love to hear how your Fruit-Tart Flag turns out! Happy baking!