
Growing up on a small farm, I can still vividly remember the endless battles my family waged against those pesky weeds that threatened to overtake our carefully tended garden beds. It was a rite of passage each spring, as we’d gather the tried-and-true ingredients for our homemade weed killer recipe and set out to reclaim our land. I’d watch my dad mix up the concoction, the pungent scent of vinegar and dish soap filling the air, and then we’d carefully apply it to the offending vegetation. There was something deeply satisfying about seeing those weeds curl up and wither away, leaving behind neat, weed-free rows of vegetables and herbs.
As I got older and started my own garden, I knew I had to carry on the tradition. I’d call my dad for a refresher on the weed killer recipe, and he’d walk me through it step-by-step, just like he did when I was a kid. It’s become an annual ritual that I look forward to – mixing up that magical potion and watching it work its weed-vanquishing wonders. There’s nothing quite like the pride I feel when I survey my garden, free of those pesky interlopers, all thanks to my trusty homemade weed killer recipe.
Why This Weed Killer Recipe Will Become Your Go-To
The Secret Behind Perfect weed killer recipe
What makes this weed killer recipe so special, you ask? It’s the perfect blend of simple, natural ingredients that pack a powerful punch against weeds, without resorting to harsh chemical-laden store-bought solutions. The key is in the combination of household staples like vinegar, dish soap, and a few other easy-to-find items. When mixed just right, this recipe creates a concoction that truly goes to war on weeds, leaving your garden beds beautifully clean and weed-free.
Print
Weed Killer Recipe
- Total Time: 5
- Yield: 1 gallon
Description
Discover a simple, natural weed killer recipe that effectively eliminates pesky weeds without harsh chemicals. This easy-to-make solution uses common household ingredients to create a powerful, yet safe formula for a lush, weed-free lawn.
Ingredients
– 1 gallon of white vinegar
– 1 cup of table salt
– 1 tablespoon of dish soap
Instructions
1. 1. In a large container, mix the white vinegar, table salt, and dish soap until the salt is fully dissolved.
2. 2. Transfer the solution to a spray bottle.
3. 3. On a sunny day, spray the weed killer directly onto the weeds, covering the entire plant, including the leaves and stem.
4. 4. Let the solution sit for 5-10 minutes, then observe as the weeds begin to wilt and die.
5. 5. Repeat the application as needed for persistent weeds.
Notes
This weed killer recipe is safe for use around pets and children, and it won’t harm your grass or other desirable plants. For best results, apply the solution on a warm, sunny day when weeds are actively growing.
- Prep Time: 5
- Category: Main Courses
- Method: Mixing
- Cuisine: American
But it’s not just the effectiveness that makes this weed killer recipe a standout – it’s also the fact that it’s completely safe for the environment and your family. No harsh toxins or potentially harmful chemicals here, just good old-fashioned natural weed-busting power. And the best part? It’s incredibly easy to make, with minimal prep time and no specialized equipment required. Trust me, once you try this weed killer recipe, it’ll become your go-to solution for keeping your garden in tip-top shape, year after year.
Essential Ingredients You’ll Need
– Distilled white vinegar: The star of the show, this acidic powerhouse is the main weed-fighting ingredient in the recipe.
– Dish soap: A small amount of gentle dish soap helps the vinegar solution adhere to the weed leaves and penetrate the plant more effectively.
– Salt: A dash of regular table salt adds an extra punch to the weed-killing formula.
– Water: Just a bit of water is needed to dilute the mixture to the perfect consistency.
Step-by-Step weed killer recipe Instructions
Preparing Your weed killer recipe
Ready to get to work on conquering those weeds once and for all? This weed killer recipe is a breeze to make, taking just a few minutes of hands-on time. You’ll need a spray bottle, some basic kitchen ingredients, and a sunny day to get the job done. Let’s dive in!
1- Start by filling a spray bottle with 1 gallon of distilled white vinegar. The high acidity in the vinegar is the key to this recipe’s weed-killing power.
2- Next, add 1 tablespoon of regular table salt to the vinegar. The salt helps to dehydrate the weeds and further disrupt their growth.
3- Squeeze in 1 teaspoon of gentle dish soap. This helps the solution adhere to the weed leaves and penetrate the plant more effectively.
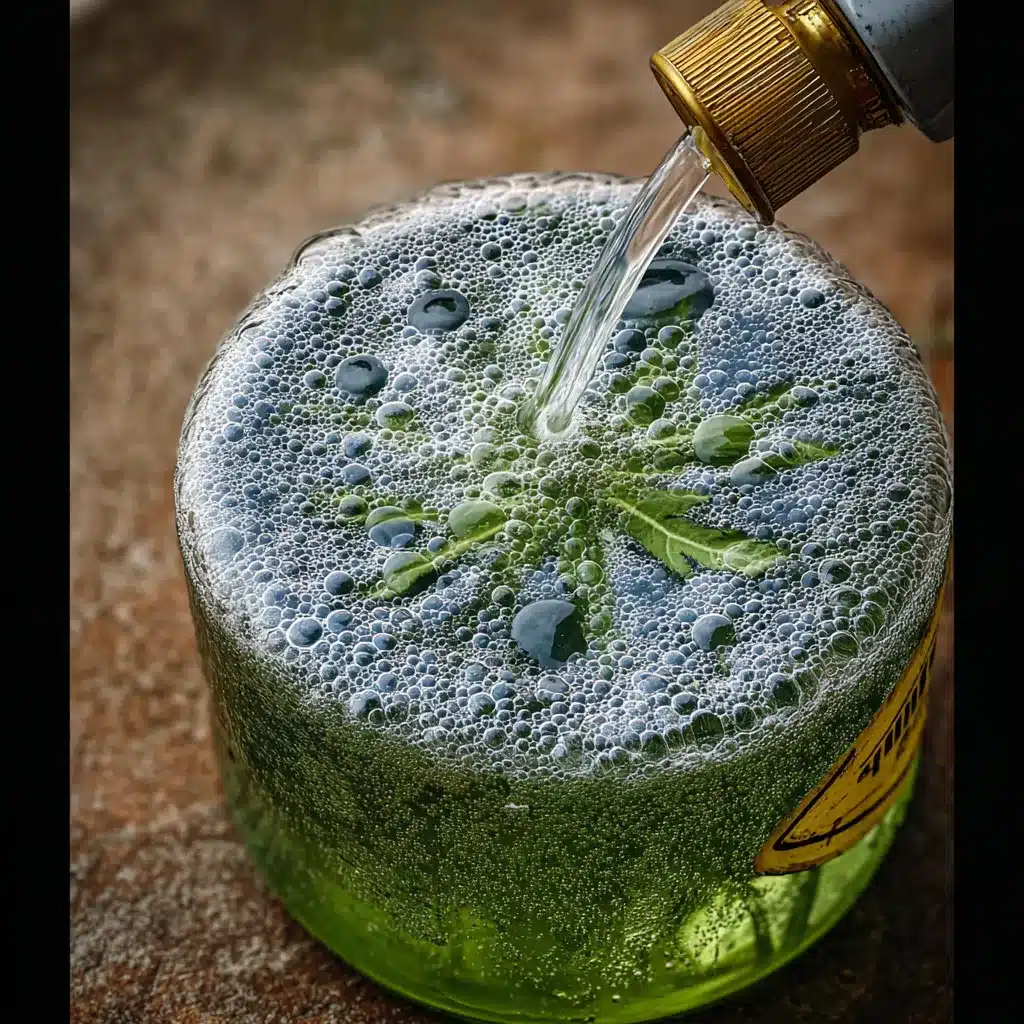
4- Finally, give the mixture a good shake to combine all the ingredients. You’ll want to see the soap start to create a slight foam, indicating it’s ready for action.
5- On a sunny day, identify the weeds you want to target and liberally spray the solution directly onto the leaves and stems. Be sure to get good coverage, as that’s what will really take down the weeds.
6- Allow the weed killer to work its magic for 24-48 hours, keeping an eye out for the weeds to start wilting and turning brown. Once they’ve fully succumbed, you can pull them out by the roots for a completely weed-free garden.
Pro Tips for Success
When it comes to using this weed killer recipe, there are a few pro tips that will help ensure your success:
– Time your application for the sunniest part of the day, as the UV rays will amplify the weed-killing effects.
– Reapply the solution every 7-10 days to tackle any new weed growth and maintain a pristine garden.
– Be cautious when spraying near desirable plants, as the vinegar solution can inadvertently damage them as well.
– For tough, deep-rooted weeds, you may need to apply the solution multiple times over several weeks to fully eradicate them.
Serving and Storing Your weed killer recipe
Perfect Pairings for weed killer recipe
While this weed killer recipe is primarily focused on keeping your garden in tip-top shape, it’s also versatile enough to be used in other areas around your home and yard. Try spraying it on walkways, driveways, or patios to prevent weed growth in those hard-to-maintain spaces. You can even use it to kill off weeds in your lawn, helping to create a lush, weed-free carpet of green.
Storage and Make-Ahead Tips
The great thing about this homemade weed killer recipe is that it’s super easy to make in advance and store for future use. Simply mix up a batch and transfer it to a clean, airtight spray bottle. It’ll keep for several months, so you can have it on hand whenever those pesky weeds start popping up. Just be sure to give the bottle a good shake before each use to ensure the ingredients are well-combined.
Variations and Dietary Adaptations for weed killer recipe
Creative weed killer recipe Variations
While the classic weed killer recipe I’ve shared is a proven winner, there are a few fun variations you can try out as well. For example, you can add a bit of lemon juice or essential oils like lavender or peppermint to give the solution a more pleasant scent. You can also experiment with different ratios of vinegar to water, or try substituting apple cider vinegar for the distilled white variety.
Making weed killer recipe Diet-Friendly
Since this weed killer recipe is made up of entirely natural, plant-based ingredients, it’s already a pretty eco-friendly and diet-friendly option. But if you’re looking to make it even more sustainable, you can try using an organic vinegar or swapping in a plant-based dish soap. The end result will still be just as effective at tackling those pesky weeds.
Frequently Asked Questions
Q: Can I use this weed killer recipe on my lawn?
A: Absolutely! The vinegar-based solution works great for controlling weeds in your lawn as well as your garden beds. Just be sure to spot-treat any problem areas, as the acidity can also potentially damage the grass if overused.
Q: How long does it take for the weed killer to work?
A: You’ll typically start to see the weeds wilting and curling within 24-48 hours of applying the solution. For tougher, deep-rooted weeds, it may take a bit longer – around 1-2 weeks for complete eradication.
Q: Can I reuse the leftover weed killer solution?
A: Yes, you can absolutely store any unused portions of the weed killer recipe for future use. Just make sure to keep it in a tightly sealed container and give it a good shake before each application.
Q: How much of the solution do I need to use per application?
A: For best results, you’ll want to liberally spray the weed killer directly onto the leaves and stems of the offending plants. A single gallon batch should be enough to cover a medium-sized garden.
Q: What if the weeds come back after I’ve treated them?
A: If you notice new weed growth popping up after your initial application, simply re-spray the area with the weed killer solution. Reapplying every 7-10 days will help keep those weeds at bay all season long.
Conclusion
There you have it – my foolproof, family-tested weed killer recipe that’s sure to become your new go-to solution for maintaining a gorgeous, weed-free garden. With its simple, natural ingredients and easy-to-follow instructions, you’ll be conquering those pesky weeds in no time. So what are you waiting for? Gather your supplies, mix up a batch, and get ready to reclaim your outdoor oasis, one spray at a time. Happy weeding!