
Thanksgiving has always been my favorite holiday. The smell of a perfectly roasted turkey fills the air, mingling with the aromas of savory side dishes and warm pumpkin pie. But it wasn’t until a few years ago that I discovered the secret to truly moist and flavorful turkey – Turkey Brine. It all started when my cousin Jenna invited us over for Thanksgiving dinner. As soon as I walked through the door, the aroma of the most delicious turkey hit me. I couldn’t wait to dive in, and when I did, it was like nothing I’d ever tasted before. The meat was juicy and tender, infused with the perfect blend of seasonings. “What’s your secret?” I asked Jenna, and that’s when she revealed the magic of Turkey Brine.
Why This Turkey Brine Recipe Will Become Your Go-To
From that moment on, I knew I had to master the art of Turkey Brine. It’s the key to taking your Thanksgiving turkey from ordinary to extraordinary. This recipe is the result of countless experiments and fine-tuning, and I can confidently say it’s the best Turkey Brine you’ll ever try.
The Secret Behind Perfect Turkey Brine
The secret lies in the combination of the right ingredients and the brining process itself. By submerging the turkey in a flavorful liquid, the meat is able to absorb all the wonderful seasonings, resulting in a juicy, melt-in-your-mouth texture that will have your guests raving.
Essential Ingredients You’ll Need
- Kosher salt: The foundation of the brine, providing the perfect seasoning and helping to lock in moisture.
- Brown sugar: A touch of sweetness that balances the saltiness and adds depth of flavor.
- Peppercorns: Whole black peppercorns add a subtle warmth and subtle heat.
- Garlic: Minced garlic infuses the Turkey Brine with an aromatic, savory note.
- Herbs: A mix of fresh thyme, rosemary, and sage lend their earthy, fragrant notes.
- Water: The liquid base that allows the other ingredients to fully dissolve and infuse the turkey.
Step-by-Step Turkey Brine Instructions
Preparing Your Turkey Brine
To make this Turkey Brine, you’ll need a large non-reactive container, such as a clean bucket or large stockpot, that can accommodate the entire turkey. The brining process takes a bit of time, but the results are well worth it. Let’s get started!
1- In a large pot or container, combine the kosher salt, brown sugar, peppercorns, garlic, and fresh herbs. Pour in the water and stir until the salt and sugar have fully dissolved.
2- Carefully lower the turkey into the brine, making sure it’s completely submerged. Cover the container and refrigerate for 12 to 24 hours, depending on the size of your turkey.
3- After the brining time, remove the turkey from the brine and rinse it under cold water. Pat it dry with paper towels.
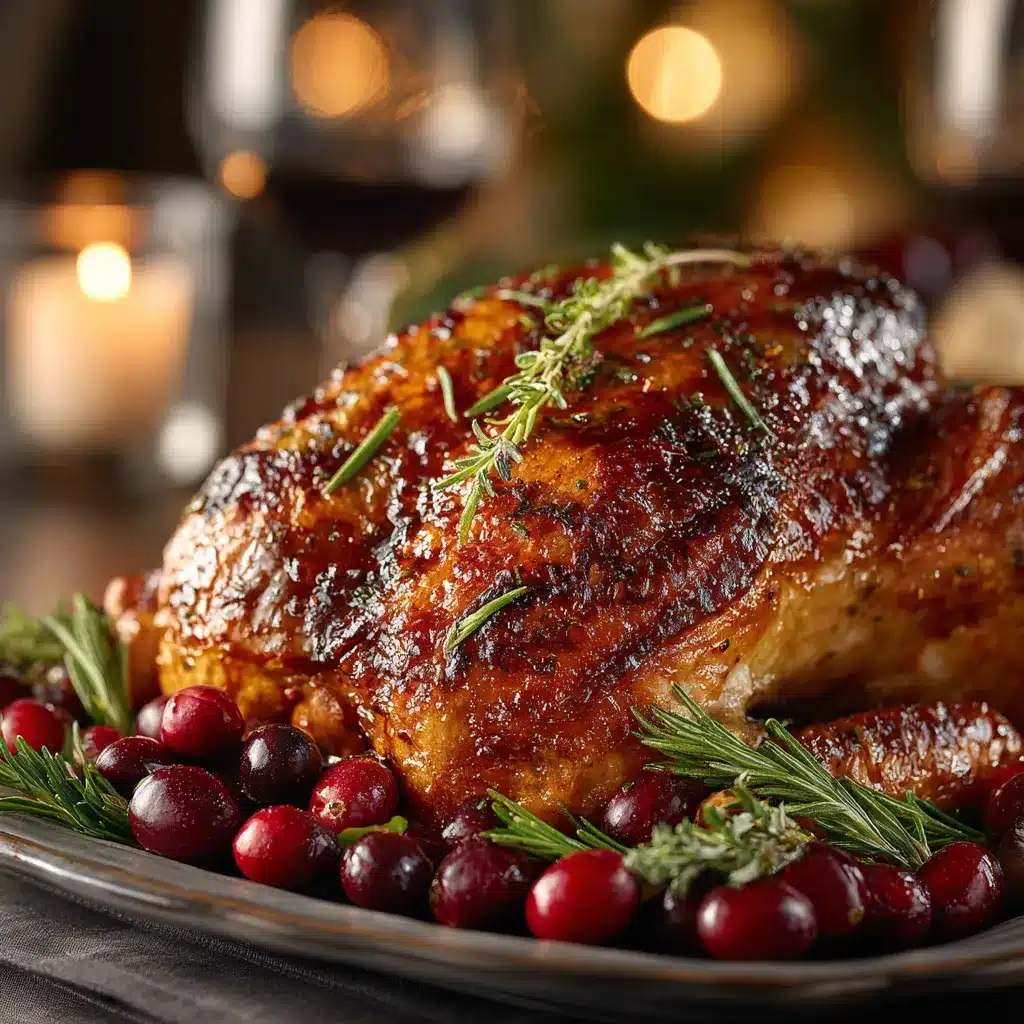
4- At this point, the turkey is ready to be seasoned and roasted as desired. You’ll notice the meat has a beautiful golden hue and a delightful aroma.
5- Proceed with your favorite turkey roasting method, keeping in mind the reduced cooking time due to the brining process.
6- Once the turkey is cooked to perfection, let it rest for 30 minutes before carving and serving.
Pro Tips for Success
- Be sure to use a non-reactive container, such as food-grade plastic, stainless steel, or a brining bag, to avoid any metallic or off-flavors.
- Adjust the brining time based on the size of your turkey. Smaller birds may only need 12 hours, while larger ones may require up to 24 hours.
- Don’t forget to rinse the turkey thoroughly after brining to remove any excess salt.
- Consider adding other aromatics like citrus, bay leaves, or spices to the brine for additional flavor.
Serving and Storing Your Turkey Brine
Perfect Pairings for Turkey Brine
The flavors of this Turkey Brine pair beautifully with a variety of classic Thanksgiving side dishes. Serve it alongside creamy mashed potatoes, savory stuffing, roasted root vegetables, and a tangy cranberry sauce for a truly memorable feast.
Storage and Make-Ahead Tips
Turkey Brine can be made up to 3 days in advance and stored in the refrigerator until ready to use. The brined turkey can also be kept in the fridge for up to 2 days before roasting. For long-term storage, the brined turkey can be frozen for up to 3 months.
Variations and Dietary Adaptations for Turkey Brine
Creative Turkey Brine Variations
If you’re feeling adventurous, try experimenting with different flavor profiles. For a citrusy twist, add sliced oranges or lemons to the brine. Swap out the herbs for a more savory blend, like sage, rosemary, and thyme. You can also play with spices, such as adding whole allspice berries or juniper berries.
Making Turkey Brine Diet-Friendly
To make this Turkey Brine recipe suitable for various dietary needs, you can easily make a few adjustments. For a gluten-free version, simply use gluten-free soy sauce or tamari in place of the regular soy sauce. For a low-carb or keto-friendly option, reduce the amount of brown sugar or use a sugar-free alternative. And for a vegan or vegetarian adaptation, simply omit the turkey and use the brine for tofu, tempeh, or even roasted vegetables.
Frequently Asked Questions
Q: Can I use table salt instead of kosher salt?
A: While you can use table salt, it’s not the best choice for this Turkey Brine recipe. Kosher salt has a larger crystal size and a more mellow flavor, which helps the brine penetrate the turkey more effectively.
Q: How long should I brine the turkey?
A: The general rule of thumb is to brine the turkey for 12 to 24 hours, depending on the size. Smaller turkeys (10-12 lbs) can be brined for 12 hours, while larger ones (16-20 lbs) may require up to 24 hours.
Q: Can I reuse the Turkey Brine?
A: It’s not recommended to reuse the Turkey Brine, as it may contain bacteria from the raw turkey. It’s best to discard the brine after use and make a fresh batch for your next turkey.
Q: How do I know when the turkey is done?
A: The best way to ensure your turkey is cooked through is to use a meat thermometer. Insert it into the thickest part of the breast, and the internal temperature should reach 165°F.
Q: What if my turkey is too salty?
A: If you find the turkey to be overly salty after brining, you can try rinsing it under cold water and patting it dry before roasting. You can also soak the turkey in fresh water for an hour or two before cooking to help draw out some of the excess salt.

Grandma’s Flavorful Turkey Brine for the Ultimate Thanksgiving Bird
- Total Time: 35
- Yield: 4
- Diet: Vegetarian
Description
Discover the secrets to making a mouthwatering Roasted Kohlrabi Traybake in just 30 minutes! This easy, veggie-packed dish features tender, caramelized kohlrabi tossed in a simple blend of olive oil, garlic, and herbs. Enjoy it as a delicious and healthy side or vegetarian main course.
Ingredients
– 2 lbs kohlrabi, peeled and cut into 1-inch cubes
– 3 tbsp olive oil
– 3 cloves garlic, minced
– 1 tsp dried thyme
– 1 tsp dried rosemary
– 1/2 tsp salt
– 1/4 tsp black pepper
Instructions
1. – Preheat the oven to 400°F (200°C).
2. – In a large bowl, toss the cubed kohlrabi with the olive oil, garlic, thyme, rosemary, salt, and pepper until well coated.
3. – Spread the seasoned kohlrabi in a single layer on a large baking sheet.
4. – Roast for 25-30 minutes, flipping the kohlrabi halfway, until tender and golden brown.
5. – Serve hot as a side dish or vegetarian main course.
Notes
For extra crispy kohlrabi, try broiling the traybake for the last 2-3 minutes. You can also add other roasted vegetables like potatoes, carrots, or Brussels sprouts to the mix.
- Prep Time: 10
- Cook Time: 25
- Category: Main Courses
- Method: Baking
- Cuisine: American
Conclusion
This Turkey Brine recipe is the key to the most moist, flavorful, and juicy Thanksgiving turkey you’ve ever tasted. By taking the time to brine your bird, you’re ensuring that every bite is a delicious celebration of the season. So, don’t hesitate – give this Turkey Brine a try and watch as your guests rave about your Thanksgiving masterpiece. Let me know in the comments how it turns out for you!