
Craving a delicious homemade soft pretzel? You’re in the right place! This easy pretzel recipe will turn your kitchen into a bakery. You’ll get warm, golden-brown pretzels that are better than any store-bought ones.
Making homemade soft pretzels is easier than you think. It only takes 40 minutes and a few basic ingredients. You can make 12 tasty pretzels that will wow your family and friends.
Whether you’re new to baking or a pro, this recipe is foolproof. You’ll love making bakery-style pretzels in your own kitchen!
Key Takeaways
- Perfect homemade soft pretzels in just 40 minutes
- Requires only 6 basic ingredients
- No special baking skills needed
- Yields 12 delicious pretzels per batch
- Freezer-friendly for up to 3 months
Why Homemade Soft Pretzels Are the Perfect Snack
Looking for a tasty snack that’s fun to make? Homemade soft pretzels are perfect for food enthusiasts. They offer benefits that store-bought pretzels can’t match.
Classic Pretzel Texture and Taste
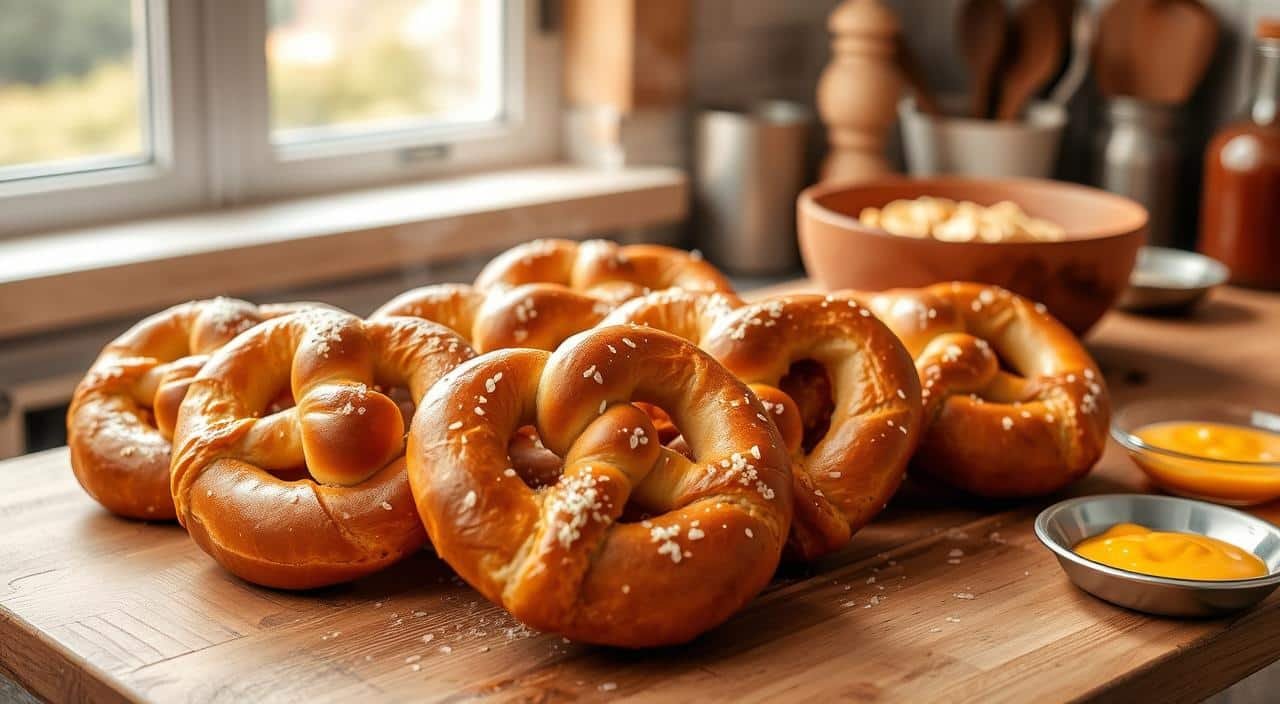
There’s nothing like a warm, soft pretzel from your oven. The golden crust and soft inside make your kitchen feel like a bakery. Each bite is a taste of authenticity that store-bought pretzels can’t match.
Cost-Effective Pretzel Snack Ideas
Making your own pretzels is not only tasty but also saves money. Here’s a cost comparison:
| Pretzel Type | Cost per Serving | Preparation Time |
|---|---|---|
| Store-Bought Pretzels | $2.50 | 0 minutes |
| Homemade Pretzels | $0.75 | 40 minutes |
Family-Friendly Baking Adventure
Make pretzel-making a fun family activity. Here are ways to get everyone involved:
- Let kids help shape the dough
- Create personalized pretzel designs
- Experiment with different toppings
- Learn basic baking skills together
“Cooking is love made visible, and homemade pretzels are the perfect way to show it!”
With simple ingredients and a bit of time, you’ll make memories and tasty pretzels that everyone will enjoy.
Essential Ingredients for Perfect Pretzels
Making homemade pretzels is easy once you know the key ingredients. You might already have most of them in your kitchen!
- Active Dry Yeast: This is the most important ingredient. Use 2¼ teaspoons (1 standard packet) for the pretzels to rise perfectly
- Warm Water: You’ll need 1½ cups at about 110°F
- All-Purpose Flour: Use 5 cups (635 grams)
- Fine Salt: Add ¾ teaspoon
- Sugar: Add 1 tablespoon to feed the yeast
- Unsalted Butter: Use 1 tablespoon, melted
“The magic of pretzels is in their simplicity – just a few ingredients can transform into something extraordinary!”
For working with yeast, make sure your water is warm. It should be around 110°F. Water that’s too hot can kill the yeast. Water that’s too cold won’t activate it.
| Ingredient | Quantity | Purpose |
|---|---|---|
| Active Dry Yeast | 2¼ teaspoons | Provides rise and texture |
| Warm Water | 1½ cups | Activates yeast, forms dough |
| All-Purpose Flour | 5 cups | Creates pretzel base |
With these simple ingredients, you’re all set for your pretzel-making journey. You don’t need fancy equipment or complicated techniques. Just pure, delicious homemade goodness!
Kitchen Tools and Equipment Needed
Homemade pretzels don’t need a fancy kitchen. Just a few key tools and basic equipment will get you started. You’ll be making tasty pretzels in no time.

Before you begin, let’s look at the essential tools for making pretzels. They’ll make the process easy and fun.
Basic Equipment Requirements
Every home baker needs a few basic tools. Here’s what you’ll need:
- Large mixing bowl or electric stand mixer
- Wooden spoon or dough hook
- Measuring cups and spoons
- Baking sheets
- Parchment paper or silicone baking mats
Optional Tools for Enhanced Results
Want to make your pretzels even better? Here are some extra tools to consider:
- Pizza cutter for precise dough shaping
- Pastry brush for egg wash and butter application
- Kitchen scale for precise ingredient measurements
- Instant-read thermometer for water temperature
Baking Surface Options
The right baking surface can make a big difference:
| Baking Surface | Pros | Best For |
|---|---|---|
| Standard Baking Sheet | Widely available, easy to use | Beginners and home bakers |
| Baking Stone | Crispy bottom, even heat distribution | Experienced bakers seeking perfect texture |
| Silicone Baking Mat | Non-stick, easy cleanup | Those who hate scrubbing baking sheets |
“The right tools can turn a good recipe into a great baking experience!” – Professional Baker
Remember, the most important tool is your passion for making delicious homemade pretzels!
The Science Behind the Baking Soda Bath

Ever wondered why pretzels look golden-brown and taste so special? It’s all thanks to the baking soda bath. This step turns simple dough into something truly amazing.
The baking soda bath is more than just a step. It’s a mix of kitchen chemistry. When you soak your dough in baking soda, something magical happens on its surface.
“A baking soda bath is like a flavor and texture magic trick for your pretzels!” – Baking Enthusiasts
What Happens During the Baking Soda Bath?
- Creates a deep golden-brown exterior
- Develops the signature pretzel flavor
- Enhances the chewy texture
- Locks in the soft interior
Now, let’s dive into the science. German pretzels use lye, but baking soda works just as well at home. When heated, baking soda loses water and carbon dioxide. This creates an alkaline environment that changes the pretzel’s look and taste.
Baking Soda Bath Conversion Process
| Process | Details |
|---|---|
| Baking Temperature | 250°F |
| Baking Duration | 1 hour |
| Substitution Ratio | 1:1 (Baked baking soda to regular) |
Pro tip: For the most authentic results, use ½ cup of baking soda in 8 cups of water when creating your alkaline solution for pretzels.
Step-by-Step Pretzel Dough Preparation
Making perfect pretzel dough is an art that needs precision and passion. Let’s explore the key steps to turn your kitchen into a soft pretzel paradise.

Mastering Yeast Activation
The secret to great pretzel dough is in activating your yeast right. You’ll need 2 1/4 teaspoons of active dry yeast in warm water, between 105˚F to 115˚F. Here’s a quick guide to yeast activation:
- Use lukewarm water (105-115˚F)
- Add 1 tablespoon of granulated sugar
- Sprinkle yeast and let sit for 5-10 minutes
- Look for a foamy top – this means your yeast is alive and ready!
Kneading Pretzel Dough Like a Pro
Kneading pretzel dough is where the magic happens. Whether by hand or stand mixer, aim for a smooth, slightly tacky dough. Pro tip: Your dough should feel smooth and slightly tacky, not sticky.
“Great pretzels start with great dough – and great dough comes from patient, careful kneading.”
Achieving the Perfect Dough Consistency
Getting the dough consistency right is key. You’ll need about 5 cups (640 grams) of all-purpose flour. Start adding flour gradually, mixing until the dough is thick. The dough should spring back when poked – that’s when you know it’s ready for kneading!
| Ingredient | Quantity |
|---|---|
| All-Purpose Flour | 5 cups (640 grams) |
| Warm Water | 1.5 cups (350 grams) |
| Instant Yeast | 2 teaspoons (8 grams) |
| Salt | 1.5 teaspoons (9 grams) |
Remember, practice makes perfect! Each batch of pretzel dough you make will help you develop a better feel for the right consistency and technique.
Shaping Techniques for Professional-Looking Pretzels
Learning to shape pretzels is easier than you think! With a few tricks, you can make pretzels that look like they came from a bakery. They’ll wow everyone at your table.
First, divide your dough into 12 equal pieces. Each should weigh about 85 grams. This makes sure all your pretzels are the same size and bake evenly.
“The secret to perfect pretzels is in the twist!” – Bavarian Pretzel Makers
Basic Pretzel Shaping Steps
- Roll each dough piece into a long rope, aiming for 24 inches in length
- Create a U-shape with the rope
- Cross the ends over each other
- Bring the ends down and press them onto the bottom of the U
Want to try different pretzel shapes? Here are some fun ones:
- Classic Twist: The traditional pretzel shape
- Pretzel Sticks: Simple, straight versions
- Letter Pretzels: Spell out names or initials
| Pretzel Shape | Difficulty Level | Visual Appeal |
|---|---|---|
| Classic Twist | Beginner | High |
| Pretzel Sticks | Easy | Medium |
| Letter Pretzels | Intermediate | Very High |
Remember, it’s okay if your pretzels aren’t perfect. Rustic, slightly uneven pretzels are charming. They show off your homemade touch. Keep practicing to get better at shaping pretzels.
Creative Topping Variations and Flavors
Transforming homemade soft pretzels into culinary masterpieces is all about exploring exciting toppings. The world of flavored pretzels offers endless possibilities. These can tantalize your taste buds and impress your friends and family.
Let’s dive into some delicious ways to elevate your pretzel game with unique and mouthwatering variations!
Sweet Sensations
For those with a sweet tooth, these pretzel toppings will be a game-changer:
- Cinnamon Sugar Delight: Brush with melted butter and sprinkle generously with cinnamon sugar
- Caramel Drizzle: Add a luxurious sweet glaze
- Vanilla Bean Glaze: Create an elegant sweet finish
Savory Flavor Explosions
Savory flavored pretzels offer a world of exciting taste combinations:
- Everything Bagel Seasoning: Sprinkle with this iconic blend
- Garlic Herb: Brush with garlic herb butter and Italian seasoning
- Pepperoni Pizza Style: Top with marinara and cheese
Cheese and Herb Magic
| Cheese Variety | Recommended Herbs |
|---|---|
| Sharp Cheddar | Rosemary |
| Parmesan | Thyme |
| Asiago | Basil |
Pro tip: Sprinkle cheese while pretzels are still wet from the baking soda bath for maximum flavor absorption!
Creating your own signature pretzel is an adventure. Whether you’re craving something sweet, savory, or cheesy, there’s a topping combination waiting to become your new favorite snack!
Storage and Reheating Methods
Learning how to store homemade pretzels is key to enjoying them for days. Fresh pretzels are the best, but the right storage keeps them tasty and soft.
Short-Term Storage Tips
Here’s how to store your homemade pretzels:
- Keep pretzels at room temperature in an airtight container
- Best consumed within 3-4 days
- Store in a cool, dry place away from direct sunlight
Freezing Your Pretzels
Freezing is great for keeping pretzels fresh longer:
- Cool pretzels completely before freezing
- Wrap individually in plastic wrap or freezer bags
- Store in freezer for up to 3 months
How to Reheat Pretzels
Reheat your pretzels to get that fresh-baked taste:
- Oven Method:
- Preheat oven to 325°F
- Bake for 5 minutes
- Optional: Uncover for 1-2 minutes for extra crispiness
- Microwave Method:
- Heat in 15-second intervals
- Check temperature between intervals
- Avoid overheating to prevent toughness
“A perfectly reheated pretzel is like a warm hug for your taste buds!” – Home Baking Enthusiast
Pro tip: Brush with melted butter after reheating. This brings back that fresh-from-the-oven taste and shine. With these tips, you’ll never throw away a pretzel again!
Conclusion
Your homemade pretzel recipe journey is complete! We’ve covered every step to make delicious soft pretzels. From the right flour ratios to the baking soda bath, you’re now a pro at making pretzels.
This recipe is simple yet powerful. With high-protein flour, active dry yeast, and patience, you can make golden, chewy pretzels. Each batch will get better, boosting your skills and confidence.
Baking pretzels is more than a recipe. It’s about making memories, sharing warmth, and enjoying the journey. Whether you make classic salted pretzels or try new toppings, your homemade treats will always win over store-bought ones. Embrace the imperfections, enjoy the kitchen’s aroma, and have fun!
Now, you’re ready to become a home pretzel-making expert. So, preheat your oven, roll out the dough, and enjoy the delicious results of your creativity.
FAQ
How long does it take to make homemade soft pretzels?
Making homemade soft pretzels takes about 1.5 to 2 hours. This includes prep, rising, shaping, and baking. Most of this time, you can relax while your pretzels do their thing.
Can I make pretzels without a stand mixer?
Yes, you can make pretzels by hand. Use a big bowl and a wooden spoon. Kneading by hand is a fun way to bond with your baking.
What if my yeast doesn’t foam?
If your yeast doesn’t foam, it might be old or the water was wrong. Use warm water (around 110°F) and fresh yeast. If it still doesn’t foam, you’ll need new yeast.
Can I make pretzels gluten-free?
Yes! Use a gluten-free flour blend instead of all-purpose flour. Just remember, they might taste a bit different.
How do I get that classic pretzel brown color?
The baking soda bath is key for that dark golden-brown color. It’s a chemical reaction that makes pretzels look and taste special.
Can I freeze homemade pretzels?
Definitely! Cool pretzels completely and freeze them in an airtight bag for up to 2 months. To reheat, warm them in a 300°F oven for 10-15 minutes or microwave for 30 seconds.
What are some creative topping ideas?
Try everything bagel seasoning, cinnamon sugar, shredded cheese, garlic herb butter, or even chocolate drizzle. There are so many options!
Do I need any special equipment to make pretzels?
No special equipment is needed. Just basic kitchen tools like a mixing bowl, baking sheet, and a wooden spoon.
How long will homemade pretzels stay fresh?
Homemade pretzels stay fresh for 1-2 days in an airtight container. For longer storage, freezing is best.
Are homemade pretzels difficult to make?
Not at all! Making pretzels is easy with a little practice. Even if your first batch isn’t perfect, they’ll still be delicious.