
I’ll never forget the first time I canned my own salsa. It was a sweltering summer day, and I had just harvested a bounty of fresh tomatoes, peppers, and onions from my backyard garden. The smell of ripe produce and simmering spices filled the air as I set to work, determined to preserve the flavors of the season.
As I chopped and stirred, I couldn’t help but reminisce about my grandma’s famous salsa canning recipe. She had taught me the process years ago, and I could practically hear her voice guiding me through each step. “Make sure to wear gloves, dear,” she’d say, “those jalapeños can really sting!” I laughed to myself, remembering how I’d ignored her advice that first time, only to end up with burning hands for hours.
This salsa canning recipe, passed down through generations, held a special place in my heart. It was more than just a dish – it was a connection to my family’s history, a tradition that brought us together in the kitchen. And now, as I stood there, surrounded by the vibrant colors and tantalizing aromas, I knew I was continuing that legacy.
With each jar I carefully sealed, I felt a sense of pride and accomplishment. This salsa canning recipe wasn’t just something I was doing – it was something I was becoming a part of, a way to honor the love and hard work of those who had come before me. And as I took that first bite, the perfect balance of sweet, sour, and spicy bursting on my tongue, I knew that this salsa would be a staple in my home for years to come.
Why This Salsa Canning Recipe Will Become Your Go-To
The secret behind this salsa canning recipe is the perfect blend of fresh, high-quality ingredients and a time-tested technique that results in a flavor explosion in every bite. Unlike store-bought salsas that can often taste flat or one-dimensional, this homemade version is bursting with complex layers of taste, from the subtle sweetness of the tomatoes to the kick of the chili peppers.
The key to this salsa canning recipe’s success lies in the way the ingredients are prepared and combined. By roasting the vegetables before blending, you unlock a deeper, more intense flavor profile that simply can’t be achieved with raw ingredients. And the perfect balance of acidity, heat, and seasoning means that every scoop is equally satisfying, whether you’re dipping with tortilla chips or using it as a topping for your favorite Mexican-inspired dishes.
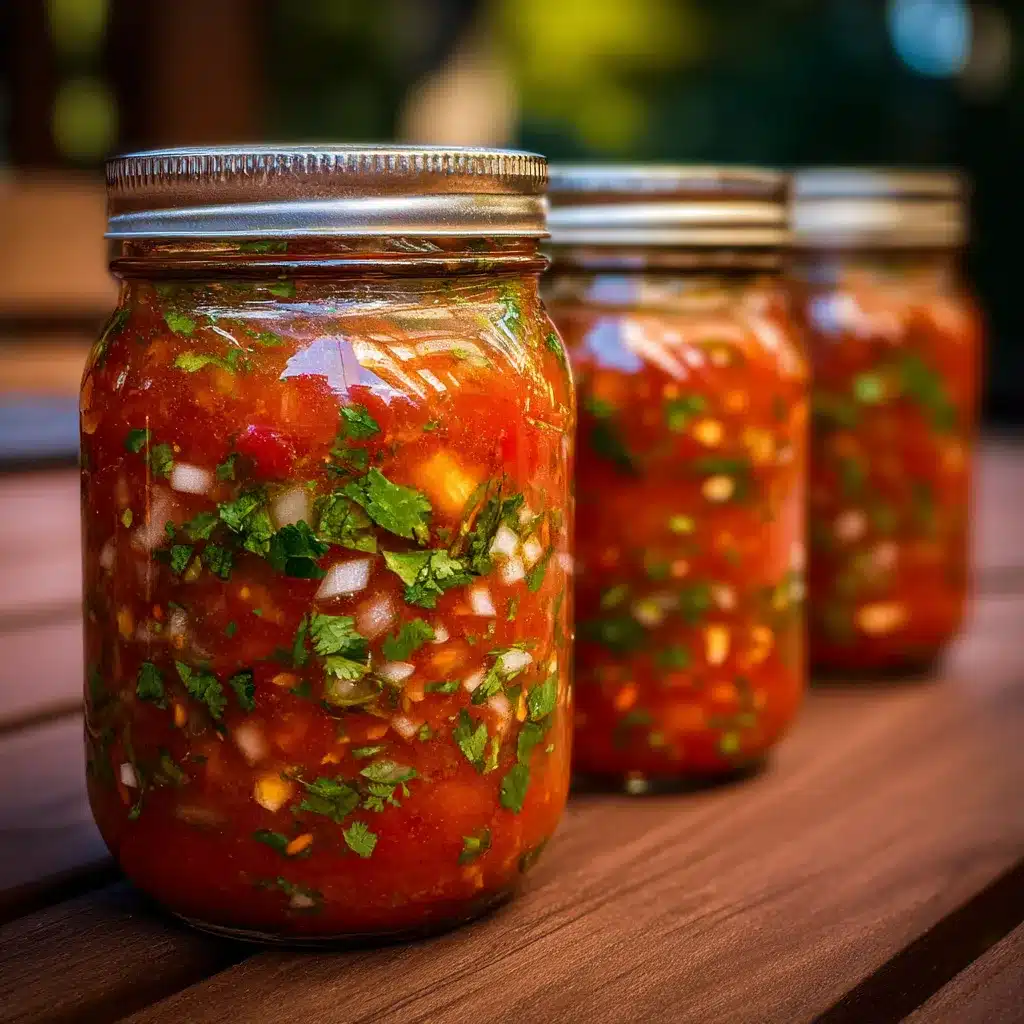
But what really sets this salsa canning recipe apart is the canning process itself. By properly preserving the salsa in sterilized jars, you’re able to enjoy the fresh, vibrant flavors for months, rather than just a few days. This means you can savor the taste of summer all year round, and always have a jar or two on hand for unexpected guests or last-minute meal prep.
The Secret Behind Perfect salsa canning recipe
One of the secrets to this salsa canning recipe’s perfection is the way the vegetables are roasted before blending. By taking the time to char the tomatoes, onions, and peppers, you unlock a depth of flavor that simply can’t be achieved with raw ingredients. The roasting process caramelizes the natural sugars, intensifying the sweetness and adding a smoky, almost barbecue-like note to the final product.
Another key element is the balance of acidity and heat. The perfect salsa canning recipe needs to have a bright, tangy flavor that cuts through the richness of the vegetables, while also delivering a satisfying kick of spice. By carefully adjusting the ratio of lime juice, vinegar, and chili peppers, you can achieve a harmonious blend that leaves your taste buds tingling in the best possible way.
But perhaps the most important aspect of this salsa canning recipe is the canning process itself. By taking the time to properly sterilize the jars and follow the appropriate food safety protocols, you’re able to preserve the fresh, vibrant flavors of the salsa for months, rather than just a few days. This means you can enjoy the taste of summer all year round, and always have a reliable, homemade condiment on hand for your favorite Mexican-inspired dishes.
Essential Ingredients You’ll Need
Tomatoes: The foundation of any great salsa, you’ll want to use a mix of ripe, juicy tomatoes for maximum flavor. Roma or beefsteak varieties work best.
Onions: A combination of sweet and spicy onions, such as red and white, adds depth and complexity to the salsa.
Jalapeños: These green chili peppers provide the perfect amount of heat, but you can adjust the quantity to suit your spice preference.
Garlic: Minced fresh garlic is a must, as it lends a pungent, savory note to the salsa.
Lime Juice: The bright, acidic punch of fresh lime juice helps balance the sweetness of the tomatoes and onions.
Vinegar: A splash of apple cider or white wine vinegar adds an extra layer of tanginess and helps preserve the salsa.
Cilantro: Fresh, chopped cilantro lends a bright, herbaceous flavor that ties the entire salsa canning recipe together.
Salt and Pepper: Don’t forget to season generously with salt and pepper to enhance the natural flavors of the ingredients.
Step-by-Step salsa canning recipe Instructions
Preparing Your salsa canning recipe
This salsa canning recipe is a straightforward process that takes about 1-2 hours from start to finish, including the canning process. You’ll need a large pot or Dutch oven, a food processor or blender, and a set of sterilized canning jars and lids.
1- Preheat your oven to 400°F (200°C). Spread the chopped tomatoes, onions, and jalapeños on a large baking sheet, drizzle with olive oil, and roast for 20-25 minutes, or until the vegetables are charred and softened.
2- In a food processor or blender, combine the roasted vegetables, garlic, lime juice, vinegar, cilantro, salt, and pepper. Pulse until the salsa reaches your desired consistency, being careful not to over-blend.
3- Transfer the salsa to a large pot and bring it to a simmer over medium heat. Cook for 10-15 minutes, stirring occasionally, to allow the flavors to meld.
4- Carefully ladle the hot salsa into the sterilized canning jars, leaving about 1/2 inch of headspace. Wipe the rims of the jars with a clean cloth and seal the lids.
5- Process the sealed jars in a water bath canner for 15 minutes to ensure proper preservation. Remove the jars and allow them to cool completely before storing.
6- Once cooled, label the jars with the contents and date. Store the canned salsa in a cool, dark place for up to 12 months.
Pro Tips for Success
One of the most important tips for this salsa canning recipe is to use the freshest, highest-quality ingredients you can find. Ripe, in-season tomatoes and peppers will make all the difference in the flavor of your final product.
Another key tip is to be patient and take your time during the roasting and blending process. The more care you put into preparing the vegetables, the more complex and nuanced the flavor of your salsa will be.
It’s also crucial to follow the proper canning techniques to ensure a safe and shelf-stable product. Make sure to sterilize your jars and lids, leave the appropriate headspace, and process the jars in a water bath for the recommended time.
Finally, don’t be afraid to experiment with different variations and flavor combinations. Try adding a dash of cumin, swapping out the jalapeños for a milder chili pepper, or even incorporating roasted corn or black beans for a heartier salsa.
Serving and Storing Your salsa canning recipe
This salsa canning recipe is the perfect accompaniment to a wide variety of Mexican-inspired dishes, from tacos and burritos to enchiladas and quesadillas. It also makes a fantastic dip for tortilla chips, or can be used as a topping for grilled meats, eggs, or even avocado toast.
For the best flavor and texture, serve the salsa at room temperature or slightly chilled. The roasted vegetables and balance of acidity and heat are truly showcased when the salsa is allowed to shine on its own.
As for storage, the canned salsa can be kept in a cool, dark place for up to 12 months. Once opened, the jars should be refrigerated and used within 7-10 days. For long-term storage, you can also freeze the salsa in an airtight container for up to 6 months.
If you’d like to get a head start on your meal prep, this salsa canning recipe is a great option. The canned jars can be used as-is or incorporated into other dishes, making it a versatile and convenient addition to your pantry.
Variations and Dietary Adaptations for salsa canning recipe
Creative salsa canning recipe Variations
While this classic salsa canning recipe is sure to become a household favorite, there are endless ways to put your own spin on it. Try swapping out the tomatoes for tomatillos for a tangy, green salsa. Or add in some roasted corn kernels for a touch of sweetness and texture.
For a more tropical twist, incorporate diced pineapple or mango. And if you’re a fan of heat, experiment with different types of chili peppers, such as habaneros or ghost peppers, for a real kick.
Making salsa canning recipe Diet-Friendly
This salsa canning recipe is naturally gluten-free, making it a great option for those with dietary restrictions. To make it vegan, simply omit the optional addition of Parmesan cheese or swap it out for a dairy-free alternative.
For a lower-carb version, you can reduce the amount of tomatoes and increase the proportion of vegetables like bell peppers or zucchini. And if you’re watching your sodium intake, be mindful of the amount of salt you add and opt for low-sodium or salt-free canned tomatoes.
No matter your dietary needs, this versatile salsa canning recipe can be easily adapted to suit your preferences and keep your taste buds happy.
Frequently Asked Questions
Q: Can I use a different type of vinegar in this salsa canning recipe?
A: Absolutely! While the recipe calls for apple cider or white wine vinegar, you can experiment with other varieties, such as red wine vinegar or even balsamic vinegar, to suit your personal taste preferences.
Q: How long does the canned salsa last?
A: Properly canned and stored in a cool, dark place, this salsa canning recipe can last up to 12 months. Once opened, the jars should be refrigerated and used within 7-10 days.
Q: Can I adjust the spice level in this recipe?
A: Yes, you can easily adjust the heat level by adding more or less jalapeños, or swapping them out for a milder chili pepper variety. Start with a smaller amount and taste as you go to achieve your desired level of spiciness.
Q: How much salsa does this recipe make?
A: This salsa canning recipe yields approximately 4-6 pint-sized jars, depending on the size of your vegetables and how finely you chop them. The exact yield may vary slightly.
Q: What if I don’t have a water bath canner?
A: If you don’t have access to a water bath canner, you can still preserve the salsa by using the oven canning method. Simply place the filled and sealed jars in a preheated oven at 250°F (120°C) for 30 minutes, then remove and allow them to cool completely before storing.
Conclusion
This salsa canning recipe is a true gem, a homemade treasure that will transport you to the vibrant flavors of summer with every bite. Whether you’re serving it up as a dip for crispy tortilla chips or using it to add a zesty kick to your favorite Mexican-inspired dishes, this salsa is sure to become a staple in your household.
The secret lies in the perfect balance of sweet, tangy, and spicy, thanks to the careful preparation and blending of the fresh, high-quality ingredients. And by canning the salsa, you can enjoy the taste of summer all year round, without sacrificing the integrity of the flavors.
So why not give this salsa canning recipe a try? Gather your family and friends, roll up your sleeves, and get ready to create a culinary masterpiece that will have everyone reaching for more. I can’t wait to hear about your experience and see the delicious results. Happy canning!