
Introduction
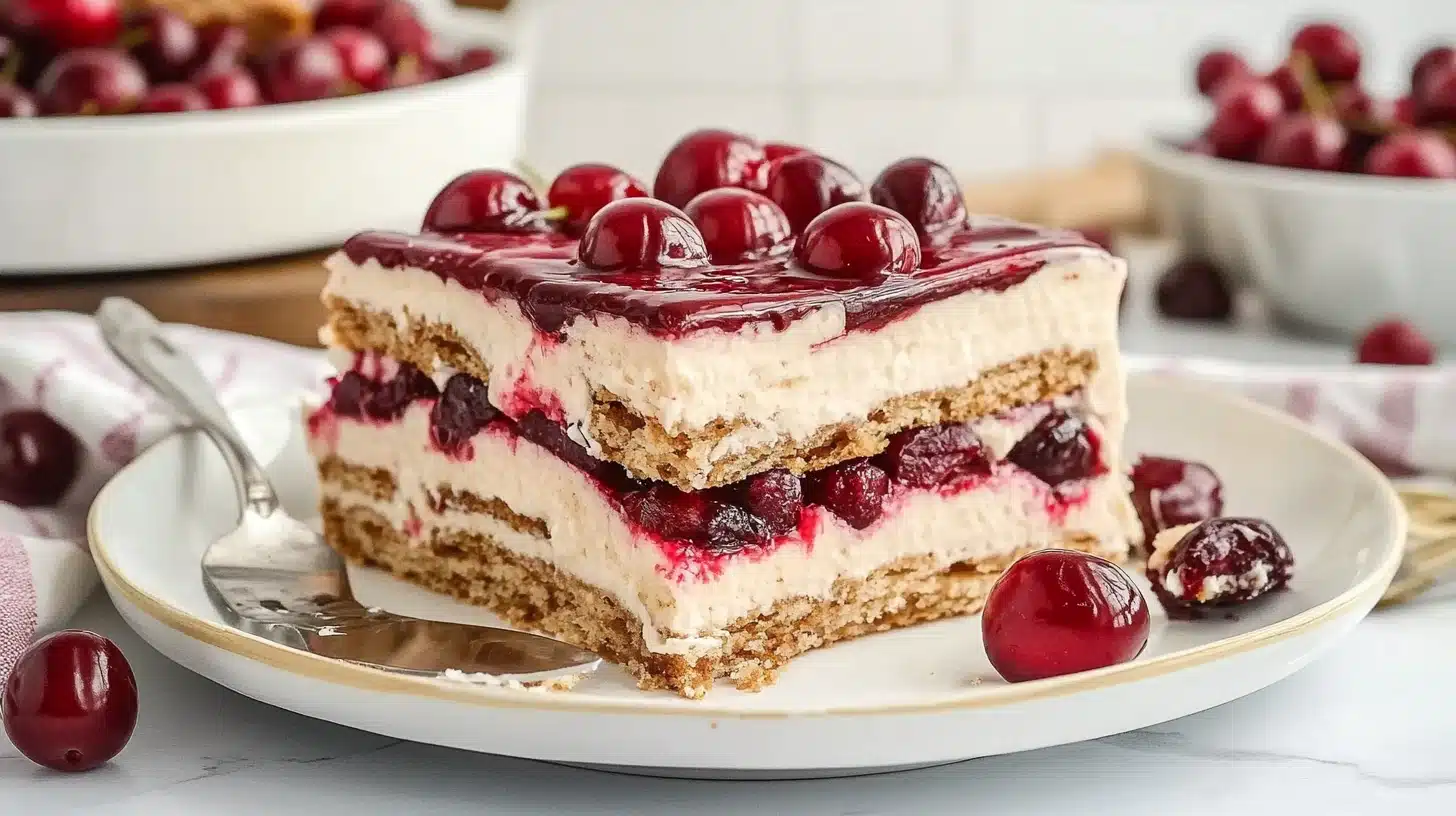
Did you know that Americans consume over 400 million pounds of cherries annually, with peak consumption during the summer months? When temperatures soar and kitchen motivation plummets, what could be more refreshing than a No-Bake Cherry Icebox Cake Recipe that requires zero oven time? This delightful summer dessert combines the sweet-tart flavor of cherries with creamy layers that set to perfection in your refrigerator. Perfect for backyard gatherings, holiday celebrations, or simply treating yourself on a warm evening, this no-bake cherry icebox cake offers the ideal balance of convenience and indulgence. Let’s explore how to create this show-stopping dessert that will keep you cool while impressing your guests.
Ingredients List
Gather these fresh, flavorful ingredients to create your No-Bake Cherry Icebox Cake. Each component contributes to the perfect balance of sweetness, tanginess, and creamy texture that makes this dessert irresistible.
- 2 pounds fresh cherries, pitted and halved (or 4 cups frozen cherries, thawed and drained)
- 3 tablespoons granulated sugar (for the cherry mixture)
- 1 tablespoon lemon juice
- 2 cups heavy whipping cream
- 8 ounces cream cheese, softened
- 1/2 cup powdered sugar
- 1 teaspoon vanilla extract
- 1/4 teaspoon almond extract (optional but enhances cherry flavor)
- 36-40 graham crackers (about 3 sleeves)
- 1 cup cherry preserves or jam
- Fresh mint leaves for garnish (optional)
Possible Substitutions:
- For a lighter version, substitute Neufchâtel cheese for regular cream cheese
- Use chocolate graham crackers for a chocolate-cherry variation
- Replace heavy cream with coconut cream for a dairy-free alternative
- Try using half cherries and half berries (strawberries or raspberries) for a mixed berry version
- Substitute honey or maple syrup for granulated sugar for a natural sweetener option
Timing
One of the greatest advantages of this No-Bake Cherry Icebox Cake Recipe is its efficiency. You’ll spend significantly less time preparing this dessert compared to traditional baked cakes.
- Preparation Time: 30 minutes (40% less active time than a traditional baked cake)
- Chilling Time: Minimum 4 hours, preferably overnight
- Total Time: 4.5 hours (including minimum chilling time)
- Active Working Time: Only 30 minutes (the refrigerator does the rest of the work!)
Step-by-Step Instructions
Creating the perfect No-Bake Cherry Icebox Cake is straightforward when you follow these detailed steps. Each phase builds flavor and ensures the perfect texture in your finished dessert.
Step 1: Prepare the Cherry Mixture
In a medium bowl, combine the pitted and halved cherries with 3 tablespoons of granulated sugar and 1 tablespoon of lemon juice. Gently stir until the cherries are evenly coated. Let this mixture sit for about 15 minutes, allowing the cherries to release their juices. This process, known as maceration, enhances the natural cherry flavor by creating a light syrup. For deeper flavor development, you can prepare this mixture up to 24 hours in advance and store it in the refrigerator.
Step 2: Make the Cream Filling
In a large mixing bowl, beat the softened cream cheese until smooth and fluffy, about 2 minutes. Add the powdered sugar, vanilla extract, and almond extract (if using), then continue beating until well combined. In a separate bowl, whip the heavy cream until stiff peaks form (approximately 3-4 minutes). Gently fold the whipped cream into the cream cheese mixture using a spatula, maintaining as much air as possible in the mixture. This technique creates a light, mousse-like texture that contrasts beautifully with the graham crackers as they soften.
Step 3: Prepare the Cherry Jam Layer
In a small bowl, stir the cherry preserves or jam until smooth and spreadable. If your preserves are too thick, warm them slightly in the microwave for 10-15 seconds. This creates a concentrated cherry flavor that intensifies the fresh cherry components in the cake. The jam layer adds beautiful color and prevents the graham crackers from becoming soggy too quickly.
Step 4: Assemble the First Layers
Line a 9×13-inch baking dish with parchment paper, leaving overhang on the sides for easy removal later. Arrange a single layer of graham crackers on the bottom, breaking some if needed to cover the entire surface. Spread about 1/3 of the cream mixture evenly over the graham crackers. Drizzle 1/3 of the cherry jam across the cream layer, then sprinkle 1/3 of the macerated cherries (with some of their juice) on top.
Step 5: Complete the Layering Process
Repeat the layering process twice more: graham crackers, cream mixture, cherry jam, and macerated cherries. Finish with a final layer of graham crackers and spread the remaining cream mixture on top. The structure should have 4 layers of graham crackers and 3 complete layers of filling. This creates the perfect ratio of creamy filling to crunchy crackers that will soften during chilling.
Step 6: Garnish and Chill
Arrange the remaining macerated cherries decoratively on top of the cake. If desired, drizzle with any remaining cherry juice from the macerated mixture. Cover the dish carefully with plastic wrap without touching the surface of the cake. Refrigerate for at least 4 hours, but preferably overnight (8-12 hours). This resting period is crucial as it allows the graham crackers to soften and the flavors to meld together, transforming the layers into a cake-like consistency.
Step 7: Serve and Enjoy
When ready to serve, lift the cake from the pan using the parchment paper overhang. Garnish with fresh mint leaves if desired. Cut into squares using a sharp knife (clean the knife between cuts for the neatest presentation). For the best texture and flavor experience, allow the cake to sit at room temperature for 10-15 minutes before serving.
Nutritional Information
Understanding the nutritional profile of your No-Bake Cherry Icebox Cake helps you enjoy this treat mindfully. The following information is based on a standard serving size (1/12 of the cake):
- Calories: 385 per serving
- Total Fat: 22g (Saturated Fat: 13g)
- Cholesterol: 68mg
- Sodium: 205mg
- Total Carbohydrates: 43g
- Dietary Fiber: 2g
- Sugars: 26g
- Protein: 5g
- Vitamin A: 15% of Daily Value
- Vitamin C: 8% of Daily Value
- Calcium: 6% of Daily Value
- Iron: 4% of Daily Value
According to nutritional research, cherries provide significant antioxidant benefits, with one serving of this cake delivering approximately 12% of your daily recommended antioxidant intake, primarily from anthocyanins that give cherries their vibrant color.
Healthier Alternatives for the Recipe
You can adapt this No-Bake Cherry Icebox Cake Recipe to suit various dietary preferences while still maintaining its delicious flavor profile:
- Lower Sugar Version: Reduce powdered sugar to 1/3 cup and use no-sugar-added cherry preserves. You can also substitute monk fruit sweetener or stevia for the granulated sugar in the cherry mixture.
- Gluten-Free Option: Use gluten-free graham crackers or gluten-free gingersnap cookies as your base layer.
- Dairy-Free Adaptation: Substitute the cream cheese with dairy-free cream cheese alternative and replace heavy cream with coconut cream (the solid part from a refrigerated can of full-fat coconut milk).
- Higher Protein Version: Add 1/4 cup of Greek yogurt to the cream cheese mixture and sprinkle 2 tablespoons of crushed nuts between layers.
- Lower Fat Alternative: Use light cream cheese and replace half the heavy cream with Greek yogurt (note: the texture will be slightly less rich).
Serving Suggestions
Elevate your No-Bake Cherry Icebox Cake experience with these creative serving ideas:
- Serve alongside a small scoop of vanilla bean ice cream for an extra-indulgent dessert experience
- Pair with a shot of espresso or a coffee liqueur for an elegant dessert course at dinner parties
- Create individual servings in mason jars or dessert cups for a portable picnic treat
- Drizzle each serving with a tablespoon of dark chocolate sauce for a black forest cake flavor profile
- Serve with a side of additional fresh cherries and berries for a beautiful color contrast and extra freshness
- For summer holidays, add blue berries and whipped cream dollops to create a patriotic red, white, and blue dessert
- Consider serving slightly frozen (30 minutes in freezer before serving) on extremely hot days for an even more refreshing treat
Common Mistakes to Avoid
Even with a straightforward No-Bake Cherry Icebox Cake Recipe, there are potential pitfalls. Here’s how to ensure perfect results:
- Mistake 1: Using warm cream cheese. Solution: Allow cream cheese to come to room temperature naturally (about 30 minutes on the counter) before mixing to prevent lumps in your cream layer.
- Mistake 2: Over-whipping the cream. Solution: Stop whipping as soon as stiff peaks form. Over-whipped cream can become grainy and eventually turn to butter.
- Mistake 3: Skimping on chilling time. Solution: The minimum 4-hour refrigeration is non-negotiable, but overnight chilling (8-12 hours) delivers the best texture as it allows the graham crackers to fully soften.
- Mistake 4: Using cherries that are too juicy without draining. Solution: If your cherries release excessive liquid, drain some of it before assembling to prevent a soggy cake.
- Mistake 5: Cutting the cake immediately after removing from refrigeration. Solution: Allow the cake to sit at room temperature for 10-15 minutes before cutting for cleaner slices and enhanced flavor.
- Mistake 6: Using graham crackers that are stale or already soft. Solution: Start with fresh, crisp graham crackers as they will absorb moisture from the filling and achieve the perfect texture.
Storing Tips for the Recipe
Proper storage ensures your No-Bake Cherry Icebox Cake maintains its delicious texture and flavor:
- Refrigerator Storage: This cake will keep well in the refrigerator for up to 3 days. Cover tightly with plastic wrap to prevent it from absorbing other food odors.
- Freezer Option: You can freeze this cake for up to 1 month. After it has set in the refrigerator, wrap the entire cake or individual portions in plastic wrap and then aluminum foil. Thaw overnight in the refrigerator before serving.
- Make-Ahead Components: Prepare the cherry mixture and cream filling up to 24 hours in advance and store separately in the refrigerator. Assemble when ready.
- Serving From Cold: For the best flavor experience, remove the cake from refrigeration 10-15 minutes before serving to take the chill off.
- Preventing Soggy Texture: If making significantly in advance, consider adding an extra layer of graham crackers to account for additional softening during storage.
Conclusion
This No-Bake Cherry Icebox Cake Recipe perfectly embodies summer dessert ideals – it’s refreshing, bursting with seasonal fruit flavor, and requires no oven time. The harmonious combination of sweet-tart cherries, creamy filling, and softened graham crackers creates a dessert that feels indulgent yet still light enough for warm weather enjoyment. Whether you’re hosting a backyard barbecue, attending a potluck, or simply treating yourself and your family, this icebox cake delivers impressive results with minimal effort.
The beauty of this recipe lies in its versatility – customize it with the suggested alternatives, prepare it in advance, and watch as it becomes your go-to summer dessert. We’d love to hear how your No-Bake Cherry Icebox Cake turns out! Share your experience in the comments below, tag us in your creation photos on social media, or explore our other summer dessert recipes for more inspiration. Stay cool and sweet this summer!
FAQs
Can I use canned cherries for this No-Bake Cherry Icebox Cake Recipe?
Yes, you can use canned cherries if fresh or frozen aren’t available. Choose cherries packed in water or juice rather than syrup, and drain them well before using. Pat them dry with paper towels to remove excess moisture that could make your cake soggy. You’ll miss some of the fresh cherry flavor, but the cake will still be delicious. Reduce the added sugar in the cherry mixture by half if using canned cherries, as they’re typically sweeter than fresh.
How far in advance can I make this icebox cake?
This No-Bake Cherry Icebox Cake can be made up to 3 days in advance. The texture actually improves after 24 hours of refrigeration as the graham crackers fully soften and the flavors meld together. If making more than 2 days ahead, consider adding an extra layer of graham crackers, as they will continue to absorb moisture. Always cover tightly with plastic wrap during storage to maintain freshness.
Is there a way to make this recipe without dairy?
Absolutely! For a dairy-free version of this No-Bake Cherry Icebox Cake Recipe, substitute the cream cheese with a plant-based cream cheese alternative (cashew or coconut-based options work well). Replace the heavy cream with coconut cream – simply refrigerate a can of full-fat coconut milk overnight and use the solid portion that separates at the top. The flavor profile will have subtle coconut notes, which pair beautifully with cherries. Some brands of graham crackers contain honey, so check labels if you need a fully vegan version.
Why did my cream layer turn out runny?
A runny cream layer usually results from under-whipping the heavy cream or mixing in cream cheese that’s too warm. Make sure to whip the heavy cream until stiff peaks form – when you lift the beater, the cream should stand up with peaks that don’t fold over. Also, ensure your cream cheese is at room temperature (not warm) before beating. If you’re working in a very warm kitchen, chill your mixing bowl and beaters in the freezer for 15 minutes before whipping the cream, which helps it maintain structure.
Can I use other fruits instead of cherries in this recipe?
Yes! This No-Bake Icebox Cake recipe works wonderfully with various fruits. Strawberries, raspberries, blueberries, peaches, or a combination of summer fruits can be substituted in equal amounts. Adjust the sugar based on the natural sweetness of your chosen fruit. When using juicier fruits like peaches, you might need to drain them after macerating to prevent excess liquid. Each fruit will create a different flavor profile, allowing you to customize the cake to your preferences or what’s in season.