
It all started with a sunny afternoon when I stumbled upon the Ninja Creami at my local kitchen supply store. I had been searching for the perfect ice cream maker for ages, and the moment I laid eyes on this compact, sleek machine, I knew it was destiny. The promise of homemade ice cream with just the push of a button had me giddy with excitement. Without a second thought, I snatched it up and hurried home, already dreaming of the creamy, delectable treats I would soon be whipping up.
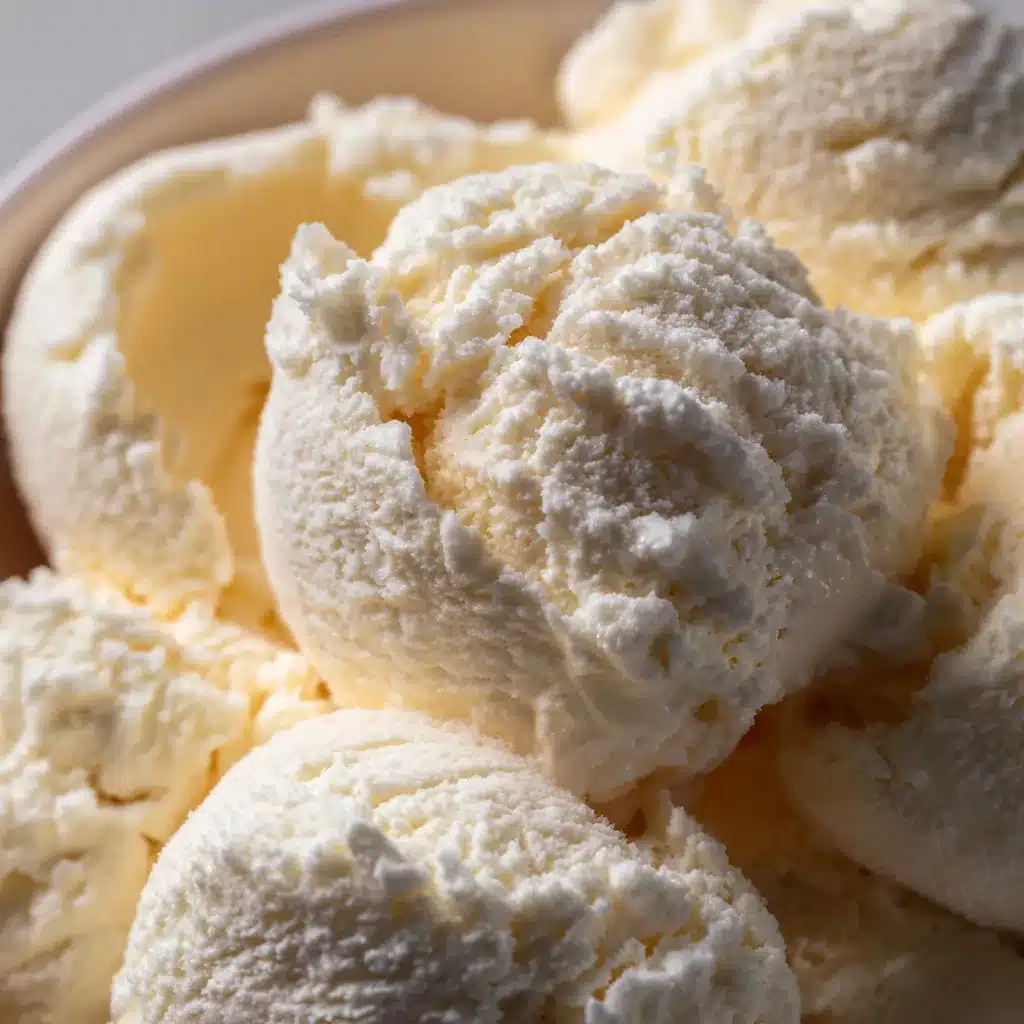
Now, let me tell you, the first time I used the Ninja Creami to make my very own vanilla ice cream, it was love at first bite. The silky-smooth texture, the rich, pure vanilla flavor – it was like nothing I had ever tasted before. I was hooked, and it wasn’t long before I was experimenting with all sorts of flavors and combinations, from classic chocolate to tangy fruit sorbets. But there was just something about that simple, yet sublime vanilla ice cream that kept drawing me back.
The secret to this ninja creami vanilla ice cream recipe, I soon discovered, lies in the Ninja Creami’s innovative design and the way it effortlessly transforms your ingredients into a heavenly frozen delight. With just a few simple steps, you can create a treat that will have your taste buds doing a happy dance. Trust me, once you try this recipe, it’ll become your go-to for all your ice cream cravings.
Why This ninja creami vanilla ice cream recipe Recipe Will Become Your Go-To
The Secret Behind Perfect ninja creami vanilla ice cream recipe
The key to this ninja creami vanilla ice cream recipe’s perfection lies in the Ninja Creami’s unique technology. Unlike traditional ice cream makers that require constant churning, the Ninja Creami uses a patented “extraction” process to create the perfect texture every single time. It gently spins and aerates the mixture, incorporating just the right amount of air to achieve that luxuriously creamy consistency you crave.
But the real magic happens in the final step, when the Ninja Creami “extracts” the ice cream, creating a smooth, velvety texture that melts in your mouth. No more icy crystals or dense, heavy scoops – just pure, unadulterated ice cream bliss.
Essential Ingredients You’ll Need
– Heavy cream: The foundation of any great ice cream, heavy cream provides the rich, creamy texture that makes this recipe so irresistible.
– Whole milk: Perfectly balancing the heavy cream, whole milk helps create a smooth, luscious consistency.
– Granulated sugar: Adding the right amount of sweetness to complement the vanilla flavor.
– Pure vanilla extract: The star of the show, high-quality vanilla extract is essential for that classic, aromatic taste.
– Pinch of salt: Just a touch of salt helps to enhance and balance the flavors.
Step-by-Step ninja creami vanilla ice cream recipe Instructions
Preparing Your ninja creami vanilla ice cream recipe
Making this ninja creami vanilla ice cream recipe is a breeze, thanks to the Ninja Creami’s user-friendly design. The entire process, from start to finish, takes just about 30 minutes, making it the perfect dessert for any occasion. You’ll need a few simple kitchen tools, like a mixing bowl, whisk, and the Ninja Creami itself, but other than that, you’re good to go!
1- In a large mixing bowl, combine the heavy cream, whole milk, sugar, vanilla extract, and a pinch of salt. Whisk the ingredients together until the sugar has dissolved and the mixture is well-blended.
2- Pour the cream mixture into the Ninja Creami bowl, making sure to secure the lid tightly. Select the “Ice Cream” setting and let the machine work its magic for about 20-25 minutes.
3- Once the timer goes off, open the lid and take a peek at your freshly churned ninja creami vanilla ice cream. It should have a soft, creamy texture, perfect for scooping.
4- If you prefer a firmer, more scoopable consistency, simply place the Ninja Creami bowl in the freezer for an additional 30 minutes to an hour, checking and stirring occasionally.
5- When your ninja creami vanilla ice cream has reached your desired texture, use a spoon or ice cream scoop to transfer it to a freezer-safe container.
6- Smooth the top, cover the surface with a piece of parchment paper to prevent ice crystals from forming, and pop it in the freezer until ready to serve.
Pro Tips for Success
– For an extra smooth and creamy texture, be sure to whisk the ingredients thoroughly before pouring them into the Ninja Creami bowl.
– If you find that your ninja creami vanilla ice cream is too soft or icy, try adjusting the ratio of heavy cream to milk. A higher cream content will result in a richer, creamier texture.
– Avoid overprocessing the ice cream, as this can lead to a grainy or dense consistency. Keep an eye on the timer and stop the machine as soon as the ice cream reaches your desired texture.
– If you’re short on time, you can speed up the freezing process by placing the Ninja Creami bowl in the freezer for 30 minutes to an hour before serving.
Serving and Storing Your ninja creami vanilla ice cream recipe
Perfect Pairings for ninja creami vanilla ice cream recipe
This classic ninja creami vanilla ice cream recipe is the perfect canvas for all sorts of delicious toppings and accompaniments. Try serving it with a drizzle of warm chocolate sauce, a sprinkle of chopped nuts, or a dollop of whipped cream. For a fun twist, top it with fresh berries or a crumbled cookie or wafer.
And let’s not forget the classic pairing – a warm, freshly baked waffle or cone! The creamy, vanilla-infused ice cream is the perfect match for the crisp, golden waffle or the satisfying crunch of a cone.
Storage and Make-Ahead Tips
Homemade ninja creami vanilla ice cream is best enjoyed fresh, but it can also be stored for up to 2 weeks in the freezer. Simply transfer the ice cream to an airtight, freezer-safe container, smoothing the top and covering it with a layer of parchment paper to prevent ice crystals from forming.
When you’re ready to enjoy your ninja creami vanilla ice cream, let it sit at room temperature for 5-10 minutes to soften slightly before scooping. You can also pop the container in the microwave for 10-15 seconds to make it easier to scoop.
For a make-ahead option, you can prepare the ice cream base in advance and store it in the refrigerator for up to 3 days before churning it in the Ninja Creami. This way, you can have fresh, homemade ice cream ready to go with just a few minutes of active prep time.
Variations and Dietary Adaptations for ninja creami vanilla ice cream recipe
Creative ninja creami vanilla ice cream recipe Variations
While this classic ninja creami vanilla ice cream recipe is a true delight, the beauty of the Ninja Creami is that you can easily customize it to suit your tastes. Try swirling in a ribbon of caramel or chocolate sauce, or fold in chopped cookies, candy pieces, or toasted nuts for a delightful mix-in.
For a seasonal twist, add a touch of pumpkin spice or cinnamon in the fall, or experiment with fresh fruit purees in the summer. The possibilities are endless!
Making ninja creami vanilla ice cream recipe Diet-Friendly
If you’re looking to make this ninja creami vanilla ice cream recipe a bit more diet-friendly, there are a few simple substitutions you can try. For a lower-fat option, you can use half-and-half in place of the heavy cream, or opt for a plant-based milk like almond or oat milk instead of whole milk.
To reduce the sugar content, you can swap out the granulated sugar for a sugar-free sweetener like erythritol or monk fruit. Just be sure to adjust the amount to taste, as these alternatives can be more concentrated in sweetness.
And for a dairy-free version, simply use your favorite non-dairy milk and cream alternatives. The Ninja Creami works beautifully with these substitutions, so you can enjoy a delicious, guilt-free treat.
Frequently Asked Questions
Q: Can I use regular milk instead of whole milk?
A: While you can use regular or low-fat milk, the texture and richness of the ninja creami vanilla ice cream recipe will suffer. The higher fat content of whole milk is essential for achieving that creamy, indulgent mouthfeel.
Q: How long does the Ninja Creami take to make the ice cream?
A: The entire process, from start to finish, takes about 30 minutes. The Ninja Creami will churn the ice cream for 20-25 minutes, and then you may need to freeze it for an additional 30 minutes to an hour to reach your desired texture.
Q: Can I make this recipe ahead of time?
A: Absolutely! You can prepare the ice cream base up to 3 days in advance and store it in the refrigerator. When you’re ready to enjoy it, simply pour the base into the Ninja Creami and let it work its magic.
Q: How do I store leftover ninja creami vanilla ice cream?
A: Store any leftover ice cream in an airtight, freezer-safe container. Be sure to smooth the top and cover it with a layer of parchment paper to prevent ice crystals from forming. It will keep for up to 2 weeks in the freezer.
Q: My ice cream is a little icy – what did I do wrong?
A: If your ninja creami vanilla ice cream has a slightly icy texture, it’s likely due to overprocessing or not enough fat in the base. Try reducing the churning time or increasing the ratio of heavy cream to milk next time. A quick spin in the Ninja Creami just before serving can also help smooth out the texture.
Conclusion
There’s no denying it – this ninja creami vanilla ice cream recipe is truly a game-changer. With its silky-smooth texture and rich, pure vanilla flavor, it’s the kind of treat that will have you coming back for seconds (and thirds!). And thanks to the magic of the Ninja Creami, creating this delectable dessert at home has never been easier.
So what are you waiting for? Grab your Ninja Creami, gather your ingredients, and get ready to embark on a flavor adventure that will have your taste buds dancing with delight. Trust me, this recipe is about to become your new go-to for all your ice cream cravings. Happy scooping!