
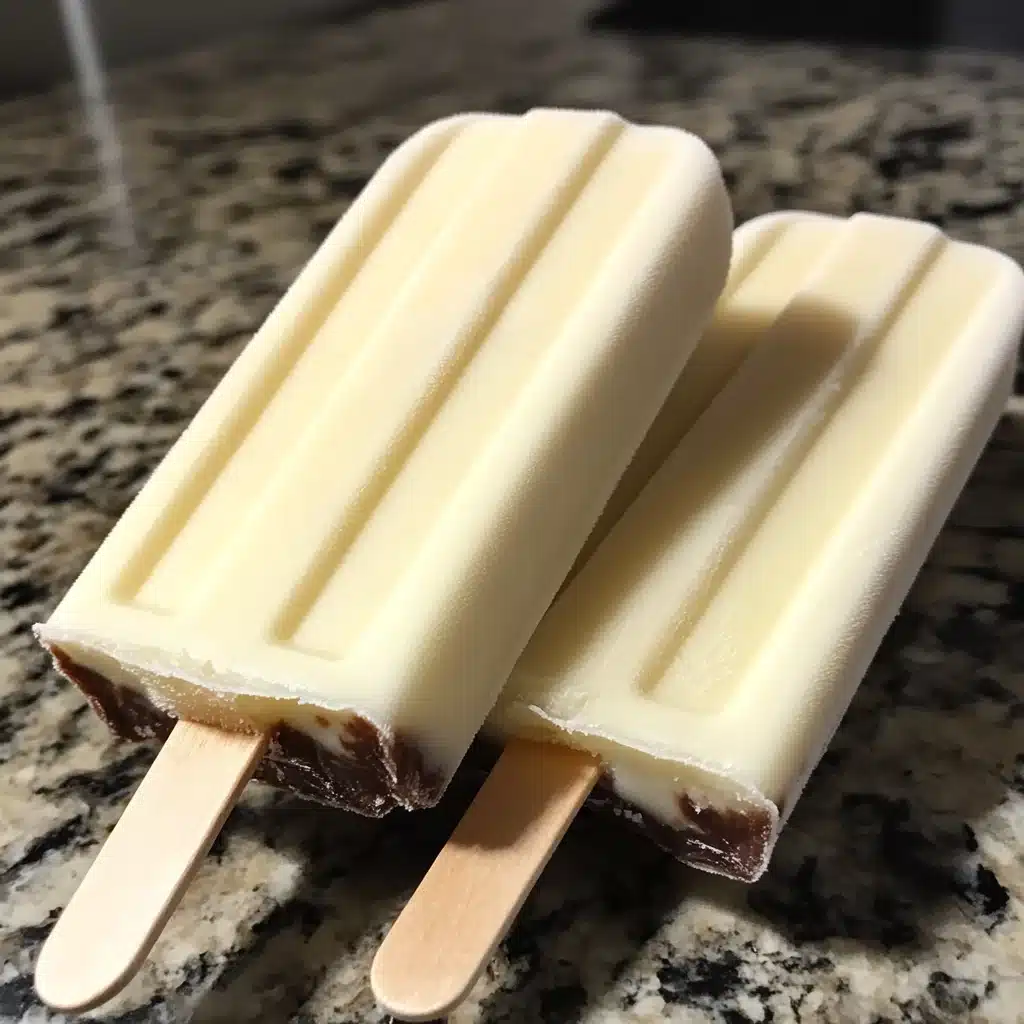
The Homemade Eskimo Pie Popsicle is a delightful treat that combines the nostalgia of a classic ice cream bar with the ease of a homemade recipe. Inspired by the iconic Eskimo Pie, these popsicles feature a creamy vanilla center encased in a rich chocolate shell, offering a perfect balance of sweetness and crunch. Making these at home not only allows for customization with different flavors or toppings, but also ensures a fun and creative activity for all ages. Whether for a hot summer day or a special dessert, this simple recipe is sure to be a crowd-pleaser!
What is an Eskimo Pie Popsicle?
The Eskimo Pie is a classic frozen treat that has delighted dessert lovers for generations. Originally created in 1920 by Christian Nelson, an Iowa-based confectioner, the Eskimo Pie quickly became a household name. This iconic dessert consists of creamy vanilla ice cream coated in a crisp layer of chocolate, combining two beloved flavors in one convenient, handheld package.
What sets the Eskimo Pie apart is its perfect balance of textures and temperatures. The smooth, cold ice cream contrasts beautifully with the snap of the chocolate coating, creating a multi-sensory experience that has stood the test of time.
Why Make Them at Home?
While it’s easy to pick up a box of Eskimo Pies at your local grocery store, there are several compelling reasons to try your hand at a homemade Eskimo Pie popsicle recipe:
- Freshness: Homemade popsicles offer unparalleled freshness. You control when they’re made and can enjoy them at their peak.
- Customization: Creating your own recipe allows you to experiment with flavors, adjusting sweetness levels or trying unique combinations not available in stores.
- Quality Control: By making your own Eskimo Pies, you can choose high-quality ingredients, avoiding preservatives and artificial additives often found in commercial versions.
- Cost-Effective: While there may be an initial investment in equipment, making your own popsicles can be more economical in the long run, especially if you enjoy them frequently.
- Fun Activity: Making homemade Eskimo Pie popsicles can be a enjoyable project for the whole family or a rewarding solo endeavor.
Ingredients
Ice Cream Base:
– 2 cups heavy cream
– 1 cup whole milk
– 2/3 cup granulated sugar
– 1 tablespoon vanilla extract
Optional flavor variations:
– For chocolate: Add 1/4 cup unsweetened cocoa powder
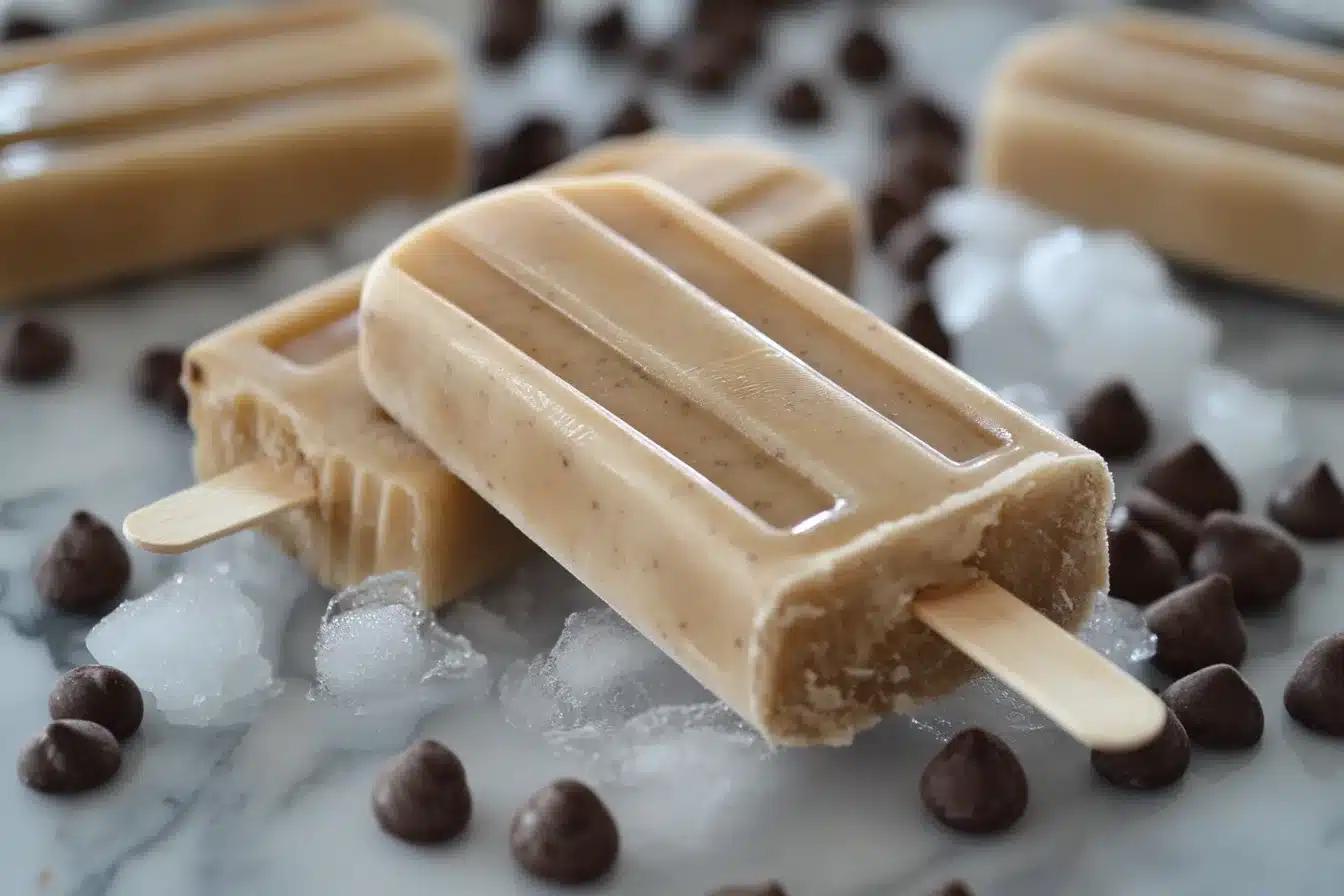
– For coffee: Add 2 tablespoons instant coffee granules
Chocolate Coating:
– 2 cups semisweet chocolate chips
– 1/4 cup coconut oil (or vegetable oil)
Optional Toppings:
– Crushed nuts (almonds, peanuts, or pistachios)
– Colorful sprinkles
– Shredded coconut
Equipment Needed
Essential Tools:
– Popsicle molds
– Popsicle sticks
– Mixing bowls
– Saucepan or double boiler
– Whisk
Optional:
– Parchment paper
– Additional freezing trays for setting
Step-by-Step Instructions
Step 1: Prepare the Ice Cream Base
- In a medium saucepan, combine the heavy cream, milk, and sugar.
- Heat the mixture over medium heat, stirring constantly until the sugar dissolves completely.
- Remove from heat and stir in the vanilla extract.
- If adding other flavors like chocolate or coffee, mix them in now.
- Allow the mixture to cool to room temperature, then refrigerate for at least 2 hours or overnight.
Step 2: Fill and Freeze the Molds
- Once chilled, give the ice cream base a good stir.
- Carefully pour the mixture into your popsicle molds, leaving about 1/4 inch of space at the top for expansion.
- Insert the popsicle sticks, making sure they’re straight and centered.
- Place the molds in the freezer and allow to freeze completely, usually 4-6 hours or overnight.
Step 3: Prepare the Chocolate Coating
- In a double boiler or a heatproof bowl set over simmering water, combine the chocolate chips and coconut oil.
- Stir gently until the chocolate is completely melted and smooth.
- Remove from heat and let cool slightly. The chocolate should be fluid but not hot.
Step 4: Dip and Coat
- Remove the frozen popsicles from their molds. If they’re stubborn, run the molds briefly under warm water.
- Working quickly, dip each popsicle into the melted chocolate, tilting the bowl to ensure even coverage.
- Allow excess chocolate to drip off, then immediately add any desired toppings while the chocolate is still wet.
Step 5: Final Freeze
- Place the coated popsicles on a parchment-lined tray or stand them upright in a tall glass.
- Return the popsicles to the freezer for about 15-20 minutes to allow the chocolate coating to harden completely.
Your homemade Eskimo Pie popsicles are now ready to enjoy!
Tips for Perfect Popsicles
Choosing Quality Ingredients
When it comes to creating the perfect homemade Eskimo Pie popsicle recipe, the quality of your ingredients matters. Here’s why:
– High-quality ice cream base: Use fresh, full-fat dairy products for a rich, creamy texture. Opt for pure vanilla extract rather than imitation flavoring.
– Premium chocolate: Choose high-quality chocolate chips or bars with a cocoa content of at least 60% for a luxurious coating.
Remember, your homemade Eskimo Pie popsicles will only be as good as the ingredients you use, so don’t skimp on quality!
Avoiding Common Mistakes
To ensure your homemade Eskimo Pie popsicles turn out perfectly every time, avoid these common pitfalls:
- Preventing ice crystals: Chill your ice cream base thoroughly before freezing to minimize ice crystal formation.
- Smooth chocolate coating: Ensure your chocolate and oil are well-combined and at the right temperature for a glossy, even coating.
- Proper freezing: Allow sufficient time for each freezing stage to ensure your popsicles are solid before dipping.
Working Quickly
When it comes to dipping your homemade Eskimo Pie popsicles, speed is of the essence:
- Prepare your workspace in advance, having all tools and toppings ready.
- Work with small batches of popsicles, keeping the rest in the freezer.
- If the chocolate starts to cool and thicken, gently reheat it to maintain the right consistency.
- Have a cold surface or freezer space ready to immediately set your dipped popsicles.
Variations and Customizations
Flavor Variations
One of the joys of making a homemade Eskimo Pie popsicle recipe is the ability to experiment with flavors:
– Ice cream flavors: Try chocolate, strawberry, mint chip, or even coffee ice cream.
– Chocolate types: Experiment with dark, milk, or white chocolate coatings for different tastes and looks.
– Swirled combinations: Create marbled effects by swirling two ice cream flavors together before freezing.
Healthier Options
For those looking for healthier alternatives, try these modifications to the classic homemade Eskimo Pie popsicle recipe:
– Dairy-free: Use coconut milk or almond milk as a base for a vegan version.
– Sugar-free: Substitute with natural sweeteners like stevia or monk fruit.
– Fruit-based: Create fruit popsicles with pureed berries or mangoes before coating in chocolate.
Creative Additions
Let your imagination run wild with these creative twists on the classic homemade Eskimo Pie popsicle recipe:
– Flavor infusions: Add mint extract, espresso powder, or citrus zest to your ice cream base.
– Crunchy elements: Mix in crushed cookies, cereal, or nuts before freezing.
– Colorful creations: Use food coloring to create vibrant, eye-catching popsicles.
Serving and Storage
Serving Ideas
Elevate your homemade Eskimo Pie popsicle experience with these serving suggestions:
– Serve immediately after the final freeze for the perfect texture.
– Create a popsicle bar with various toppings for guests to customize their treats.
– Garnish with fresh fruit, whipped cream, or a drizzle of caramel for an extra special touch.
Storing Tips
Proper storage is key to maintaining the quality of your homemade Eskimo Pie popsicles:
- Wrap each popsicle individually in wax paper or plastic wrap to prevent freezer burn.
- Store in an airtight container or freezer bag to protect from odors and ice crystals.
- Keep popsicles in the back of the freezer where the temperature is most consistent.
Shelf Life
When stored properly, your homemade Eskimo Pie popsicles can last for:
– Up to 2 weeks for best quality and flavor.
– Up to 1 month if well-wrapped and protected from freezer burn.
To maintain freshness, avoid frequent temperature fluctuations by minimizing how often you open the freezer.
Troubleshooting
Soft Ice Cream Before Dipping
If your popsicles are too soft for dipping, try these solutions:
- Return them to the freezer for 30 minutes to an hour before attempting to dip again.
- Work with smaller batches, keeping the rest in the freezer until ready to dip.
- Ensure your freezer is set to the coldest setting for optimal freezing.
Chocolate Not Sticking
To ensure proper chocolate adhesion:
- Make sure the popsicles are thoroughly frozen before dipping.
- Maintain the right chocolate temperature – not too hot or too cool.
- Add a small amount of coconut oil to the chocolate to improve coating properties.
Removing Popsicles from Molds
To easily release popsicles without breaking:
- Run the outside of the mold under warm (not hot) water for a few seconds.
- Gently wiggle the stick to loosen the popsicle.
- If using silicone molds, carefully peel the mold away from the popsicle.
Frequently Asked Questions (Q&A)
What is the Best Type of Chocolate to Use?
For the best homemade Eskimo Pie popsicle recipe results, use high-quality chocolate with at least 60% cocoa content. Dark chocolate provides a rich flavor, while milk chocolate offers a sweeter taste. Avoid chocolate chips designed to retain their shape when baked, as they may not melt smoothly.
Can I Use Store-Bought Ice Cream?
Yes, you can use store-bought ice cream in your homemade Eskimo Pie popsicle recipe. Pros include convenience and consistency, while cons include less control over ingredients and potential air pockets. If using store-bought, let it soften slightly before molding for best results.
How Long Do These Popsicles Last in the Freezer?
Properly stored homemade Eskimo Pie popsicles can last up to 2 weeks for optimal flavor and texture, and up to 1 month if well-protected. Always check for signs of freezer burn or off-odors before consuming.
Can I Make These Popsicles Dairy-Free?
Absolutely! For a dairy-free version of the homemade Eskimo Pie popsicle recipe, substitute the dairy ingredients with:
– Coconut milk or almond milk for the cream and milk
– Vegan chocolate for the coating
– Coconut oil instead of vegetable oil
How Do I Avoid Air Bubbles in the Chocolate Coating?
To achieve a smooth, bubble-free coating:
- Ensure the chocolate is melted at the right temperature.
- Tap the dipped popsicle gently on the side of the bowl to release air bubbles.
- Use a spatula to smooth out any remaining bubbles before the chocolate sets.
What are Some Fun Variations?
Try these creative twists on the classic homemade Eskimo Pie popsicle recipe:
– Peppermint: Add crushed candy canes to the coating for a festive holiday treat.
– S’mores: Use graham cracker-flavored ice cream and add marshmallow bits to the coating.
– Tropical: Create a mango or pineapple ice cream base with a white chocolate coating and toasted coconut.
Conclusion
Creating your own homemade Eskimo Pie popsicle recipe is a rewarding experience that allows you to enjoy this classic treat with a personal touch. By following this guide, you’ve learned not only how to make these delicious popsicles but also how to troubleshoot common issues and explore creative variations.
Don’t be afraid to experiment with different flavors, coatings, and toppings. The beauty of making homemade Eskimo Pie popsicles is the ability to customize them to your taste preferences. Try combining unexpected flavors or adding unique textures to create your signature frozen treat.
We’d love to hear about your homemade Eskimo Pie popsicle adventures! Share your creations, variations, and tips with friends, family, or on social media. Your unique twist on this classic recipe might inspire others to try their hand at making these delightful frozen treats.
Remember, the joy of cooking – and in this case, freezing – is in the process as much as the result. So have fun, be creative, and enjoy your homemade Eskimo Pie popsicles!