
Growing up, the arrival of summer always meant one thing in our household – it was cherry jam making season! As a little girl, I can still vividly remember the sweet, fruity aroma that would fill our kitchen as Grandma stood over the stovetop, carefully stirring the ruby-red preserves. She would hum softly to herself, a contented smile on her face, as she meticulously skimmed the foam from the bubbling cherry jam recipe.
Watching Grandma make her famous cherry jam was nothing short of a sacred ritual. She taught me all her secrets – from selecting the ripest, juiciest cherries to the perfect ratio of sugar to fruit. And of course, the most important step of all was the patience required to slowly cook the jam to jammy perfection. As I’d sit at the kitchen counter, eyes wide with wonder, I’d be mesmerized by the transformation happening right before me.
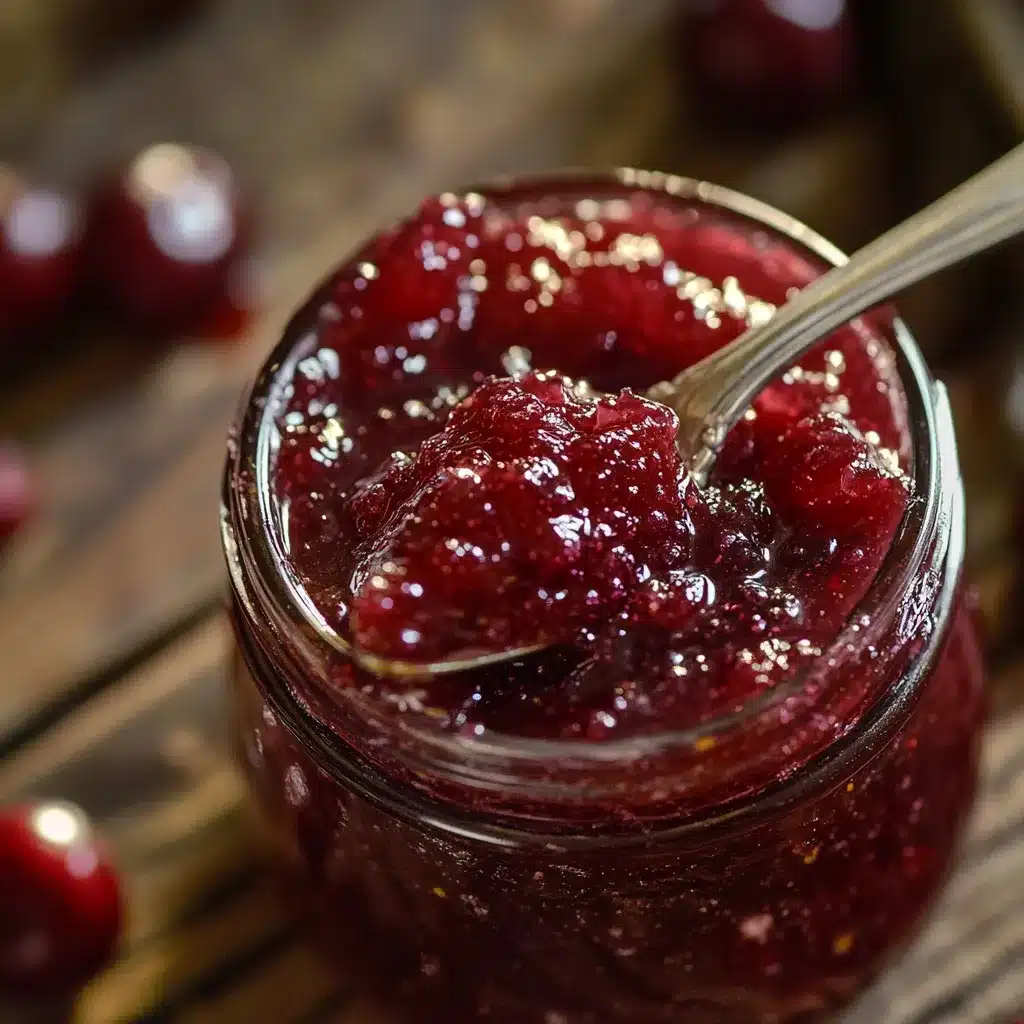
To this day, the taste of Grandma’s homemade cherry jam recipe instantly transports me back to those warm summer days, sitting on the porch swing and listening to the cicadas hum. That flavor – tart yet sweet, with a silky smooth texture – is truly unmatched. It’s no wonder this cherry jam recipe has become a cherished tradition passed down through our family for generations.
Why This cherry jam recipe Recipe Will Become Your Go-To
If you’re on the hunt for the ultimate cherry jam recipe, look no further. This is the one that will have your friends and family raving, and will quickly become a staple in your preserves pantry. What makes this cherry jam recipe so special? It all comes down to the perfect balance of flavors and a few unexpected techniques that deliver consistently impressive results.
The Secret Behind Perfect cherry jam recipe
The secret to this cherry jam recipe is all in the method. Rather than simply simmering the cherries and sugar together until thickened, we’re going to take a more thoughtful approach. First, we’ll macerate the cherries in sugar to draw out their natural juices. This not only intensifies the flavor, but also helps the jam set up beautifully without the need for commercial pectin.
Next, we’ll slowly cook the cherries over low heat, allowing the sugars to caramelize and the texture to transform into a luxuriously thick, spreadable jam. The key is patience – resist the urge to crank up the heat, as this can cause the cherries to overcook and turn bitter. With just a bit of gentle coaxing, you’ll be rewarded with a cherry jam recipe that’s truly out of this world.
Essential Ingredients You’ll Need
Fresh, ripe cherries
Granulated sugar
Lemon juice
Vanilla extract
Step-by-Step cherry jam recipe Instructions
Preparing Your cherry jam recipe
This cherry jam recipe is a labor of love, but I promise it’s well worth the effort. With just a handful of simple ingredients and a little bit of time, you’ll have a batch of the most heavenly homemade preserves. In total, this recipe will take about 1 hour and 15 minutes to complete, with 45 minutes of active cooking time. You’ll need a large heavy-bottomed pot, a wooden spoon, and some sterilized jars for storing your finished jam.
1- Begin by gently rinsing the cherries and removing the pits. You can use a cherry pitter for this task, or simply cut each cherry in half and pop out the pit.
2- In a large bowl, combine the pitted cherries with the granulated sugar. Use a wooden spoon to gently toss the cherries and sugar together until evenly coated. Cover the bowl and let the mixture macerate at room temperature for 30 minutes, stirring occasionally. This step helps draw out the natural juices from the cherries.
3- After 30 minutes, transfer the cherry-sugar mixture to a heavy-bottomed pot set over medium-low heat. Cook, stirring frequently with a wooden spoon, for 30-40 minutes. You’ll know the jam is ready when it has thickened to a spreadable consistency and the cherries have softened significantly.
4- Once the jam has reached the desired texture, remove the pot from the heat and stir in the lemon juice and vanilla extract. Give everything a final vigorous stir to incorporate.
5- Carefully ladle the hot cherry jam into your sterilized jars, leaving about 1/4 inch of headspace. Wipe the rims clean, then seal the jars according to the manufacturer’s instructions.
6- Allow the sealed jars to cool completely at room temperature before transferring to the refrigerator. The cherry jam will continue to thicken as it cools.
Pro Tips for Success
When selecting your cherries, look for ones that are deep red and bursting with juiciness. Avoid cherries that are overly soft or shriveled, as these won’t yield the best results.
Be patient during the cooking process – resist the urge to crank up the heat, as this can cause the cherries to overcook and turn bitter. Slow and steady is the way to go for the perfect cherry jam texture.
For a silkier, more spreadable jam, you can use an immersion blender to lightly purée the cooked cherry mixture before jarring. Just be sure not to overdo it, as you still want some nice cherry chunks throughout.
Serving and Storing Your cherry jam recipe
Perfect Pairings for cherry jam recipe
This homemade cherry jam recipe is incredibly versatile and pairs beautifully with all sorts of foods. Spread it on warm buttered toast or freshly baked biscuits for a classic breakfast treat. It also makes a delightful topping for pancakes, waffles, or even vanilla ice cream. For a quick and easy dessert, serve the cherry jam with a wedge of creamy brie or goat cheese and some crackers.
Storage and Make-Ahead Tips
Properly sealed and stored, this cherry jam recipe will keep in the refrigerator for up to 3 months. For longer-term storage, you can freeze the jam in airtight containers for up to 1 year. To thaw, simply transfer the frozen jam to the refrigerator and let it slowly come to temperature.
This cherry jam also makes a wonderful homemade gift. Simply spoon the jam into sterilized jars, add a pretty label, and you’ve got a thoughtful present ready to share with friends and family.
Variations and Dietary Adaptations for cherry jam recipe
Creative cherry jam recipe Variations
Looking to switch things up? This cherry jam recipe lends itself beautifully to all sorts of creative variations. For a touch of spice, try adding a pinch of ground cinnamon or a few whole cloves to the simmering jam. You can also switch out the vanilla extract for almond or orange extract for a different flavor profile.
If you’re a fan of chunky jam, you can reserve a portion of the cooked cherries and fold them back into the smooth jam for a rustic texture. Or, for a more uniform consistency, use an immersion blender to purée the entire batch before jarring.
Making cherry jam recipe Diet-Friendly
To make this cherry jam recipe suitable for a variety of dietary needs, there are a few simple substitutions you can try:
For a low-sugar version, replace the granulated sugar with a calorie-free sweetener like erythritol or stevia. Just be sure to adjust the amount to taste, as these alternatives can be more potent than regular sugar.
To make the jam vegan-friendly, simply omit the vanilla extract (or swap in a plant-based alternative) and ensure your chosen sweetener is also vegan-approved.
For a gluten-free cherry jam, this recipe is naturally gluten-free. Just be mindful of any cross-contamination when selecting your jars and utensils.
Frequently Asked Questions
Q: Can I use frozen cherries instead of fresh?
A: Absolutely! Frozen cherries work beautifully in this recipe. Just be sure to thaw them completely before using, and adjust the cooking time as needed – the frozen cherries may release more liquid as they cook.
Q: How can I tell when the cherry jam is done?
A: The best way to know when the jam is ready is to keep a close eye on the texture. It should thicken to a spreadable, almost jelly-like consistency, coating the back of a spoon. You can also perform the “wrinkle test” – place a small spoonful of the hot jam on a chilled plate and see if it wrinkles when you push it with your finger.
Q: How long will the cherry jam keep?
A: Properly sealed and stored in the refrigerator, this cherry jam recipe will keep for up to 3 months. For longer-term storage, you can freeze the jam in airtight containers for up to 1 year.
Q: Can I double or triple this recipe?
A: Yes, you can easily scale this recipe up or down to suit your needs. Just be sure to use a pot large enough to accommodate the increased volume, and adjust the cooking time as necessary.
Q: Why is my cherry jam too runny?
A: If your cherry jam turns out too thin or runny, it likely just needs a bit more cooking time. Return the jam to the heat and continue simmering, stirring frequently, until it reaches the desired thick, spreadable consistency. Patience is key!
Conclusion
There you have it – the ultimate homemade cherry jam recipe that’s sure to become a new family favorite. With its bright, fruity flavor and silky smooth texture, this jam is the perfect way to preserve the taste of summer all year round.
I hope this recipe has inspired you to get into the kitchen and start cooking up your own batch of this cherished preserves. Don’t be afraid to get creative with flavor variations, and be sure to let me know how it turns out! Happy jamming, everyone.