
Growing up, broccolini was always a staple vegetable in our household. My mom would prepare it in the most delicious way, and it quickly became one of my favorite side dishes. The way the tender stems and slightly charred florets would melt in my mouth was simply heavenly. I can still remember the aroma of the broccolini sizzling in the pan, with a hint of garlic and a drizzle of lemon juice – it was pure perfection.
As I got older and started cooking for myself, I knew I had to master the art of the broccolini recipe. It took some trial and error, but eventually, I developed a foolproof method that produces the most flavorful and perfectly cooked broccolini every single time. This broccolini recipe has become a go-to in my kitchen, and I’m excited to share it with you today.
Why This Broccolini Recipe Will Become Your Go-To
This broccolini recipe is so much more than just a simple side dish. It’s a celebration of the delicate, slightly sweet, and incredibly versatile broccolini vegetable. The secret to its success lies in the perfect balance of flavors and textures, achieved through a unique cooking technique that ensures the broccolini is tender yet still has a delightful crunch.
The Secret Behind Perfect broccolini recipe
The key to this broccolini recipe is the way we prepare the broccolini. Instead of just steaming or boiling it, we’re going to sauté the broccolini in a hot pan with a bit of olive oil and garlic. This method allows the broccolini to develop a beautiful caramelized exterior, while the interior remains tender and juicy. The addition of garlic adds a depth of flavor that takes this broccolini recipe to the next level.
Print
Broccolini Recipe
- Total Time: 15
- Yield: 4
- Diet: Vegetarian
Description
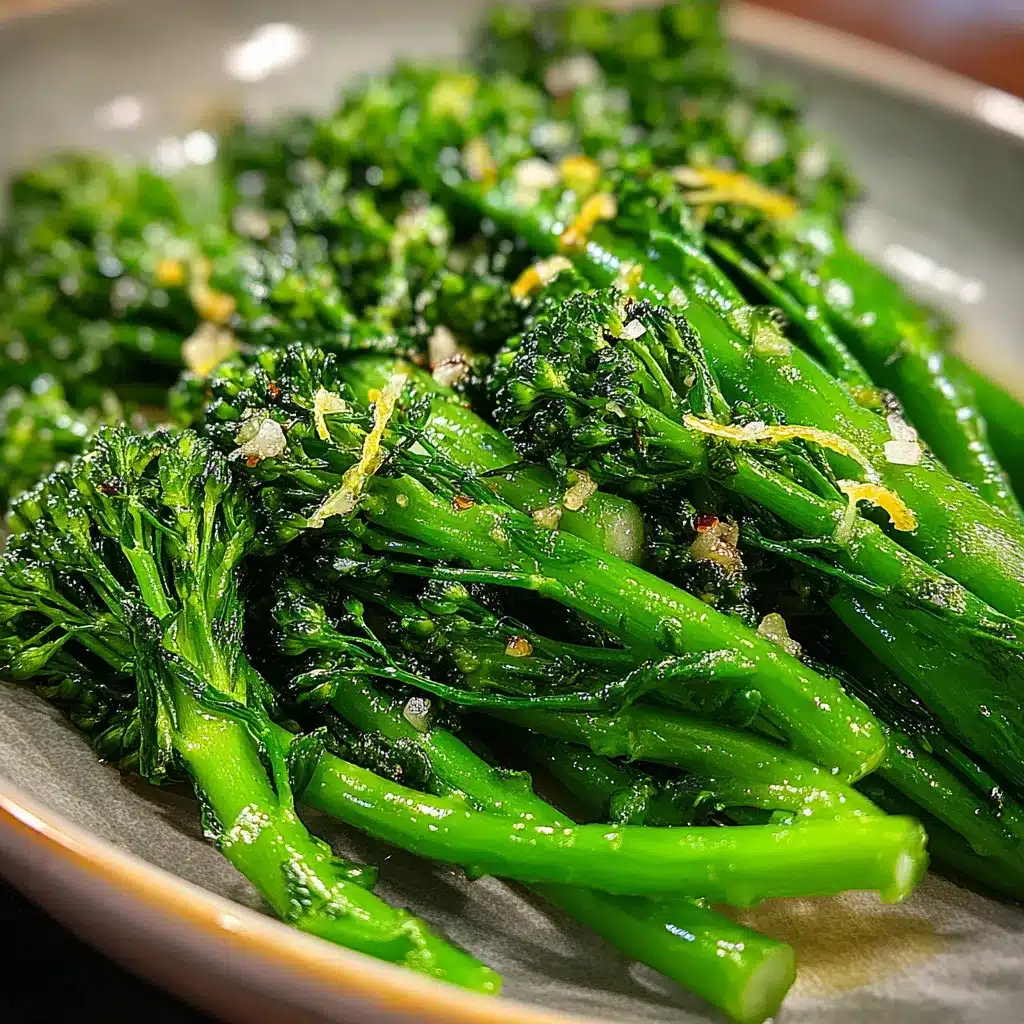
Elevate your weeknight meal with this quick and easy broccolini recipe. Tender, flavorful broccolini is sautéed with garlic and a squeeze of fresh lemon, creating a simple yet satisfying vegetable side dish.
Ingredients
– 1 lb broccolini, trimmed and cut into 2-inch pieces
– 2 tbsp olive oil
– 3 cloves garlic, minced
– 1 lemon, juiced
– 1/4 cup grated parmesan cheese
– Salt and pepper, to taste
Instructions
1. – Heat the olive oil in a large skillet over medium-high heat.
2. – Add the broccolini and sauté for 5-7 minutes, stirring occasionally, until tender and slightly charred.
3. – Stir in the minced garlic and sauté for an additional 1-2 minutes until fragrant.
4. – Remove from heat and squeeze the lemon juice over the broccolini.
5. – Season with salt and pepper to taste.
6. – Sprinkle the grated parmesan cheese over the top and serve immediately.
Notes
For extra flavor, try adding a pinch of red pepper flakes or a drizzle of balsamic glaze. Leftovers can be stored in the refrigerator for up to 3 days and reheated in the microwave or on the stovetop.
- Prep Time: 5
- Cook Time: 10
- Category: Main Courses
- Method: Stovetop
- Cuisine: American
But the real magic happens when we finish the dish with a squeeze of fresh lemon juice and a sprinkle of Parmesan cheese. The bright, acidic note of the lemon perfectly complements the earthy, nutty flavor of the broccolini, while the Parmesan adds a savory, umami element that ties everything together.
Essential Ingredients You’ll Need
– Broccolini: The star of the show! Look for fresh, vibrant broccolini with tight, green florets and tender stems.
– Olive oil: A high-quality extra-virgin olive oil will help to sauté the broccolini and add richness to the dish.
– Garlic: Minced or thinly sliced garlic adds a warm, aromatic flavor that perfectly complements the broccolini.
– Lemon juice: A squeeze of fresh lemon juice at the end brightens up the dish and balances the flavors.
– Parmesan cheese: Grated or shaved Parmesan cheese provides a savory, umami note that ties everything together.
– Salt and pepper: Simple seasonings to enhance the natural flavors of the broccolini.
Step-by-Step broccolini recipe Instructions
Preparing Your broccolini recipe
This broccolini recipe is incredibly easy to make and requires just a few simple steps. The whole process takes about 15-20 minutes from start to finish, making it the perfect quick and healthy side dish for any meal. All you’ll need is a large skillet or sauté pan and a sharp knife for prepping the broccolini.
1- Start by trimming the ends of the broccolini stems and cutting any larger florets into bite-sized pieces. This will help the broccolini cook evenly.
2- In a large skillet or sauté pan, heat the olive oil over medium-high heat. Once the oil is shimmering, add the minced or sliced garlic and sauté for 1-2 minutes, or until fragrant.
3- Carefully add the prepared broccolini to the pan and toss to coat it in the garlic-infused oil. Cook the broccolini for 5-7 minutes, stirring occasionally, until it starts to develop a nice char and tender-crisp texture.
4- Keep a close eye on the broccolini, as you want it to be tender but still have a bit of a bite. The broccolini is ready when it’s bright green and a knife can easily pierce through the stems.
5- Remove the pan from the heat and squeeze the fresh lemon juice over the broccolini. Toss to coat, then sprinkle the grated or shaved Parmesan cheese over the top.
6- Give the broccolini a final toss and serve immediately, while it’s hot and the cheese is still melted. Enjoy!
Pro Tips for Success
– For even more flavor, try adding a pinch of red pepper flakes or a squeeze of lemon zest along with the juice.
– Be careful not to overcrowd the pan when sautéing the broccolini – work in batches if necessary to ensure even cooking.
– Avoid boiling or steaming the broccolini, as this can make it soggy. The sautéing method is key to achieving the perfect texture.
– Don’t be afraid to experiment with different seasonings or toppings, such as toasted breadcrumbs, sliced almonds, or a drizzle of balsamic glaze.
Serving and Storing Your broccolini recipe
Perfect Pairings for broccolini recipe
This broccolini recipe is incredibly versatile and can be served alongside a variety of main dishes. It pairs especially well with grilled or roasted proteins, such as chicken, fish, or steak. The bright, acidic notes of the lemon and Parmesan also make it a great accompaniment to pasta dishes or hearty grain bowls.
For a complete meal, try serving the broccolini recipe with roasted salmon, quinoa, and a fresh green salad. Or, for a vegetarian-friendly option, pair it with your favorite pasta or rice dish. The possibilities are endless!
Storage and Make-Ahead Tips
Leftover broccolini can be stored in an airtight container in the refrigerator for up to 4 days. To reheat, simply sauté the broccolini in a hot pan with a bit of olive oil or butter until heated through.
You can also make this broccolini recipe in advance and reheat it when you’re ready to serve. Simply prepare the broccolini up to the point of adding the lemon juice and Parmesan, then store it in the refrigerator. When you’re ready to serve, reheat the broccolini in a pan and finish it with the lemon and Parmesan.
Variations and Dietary Adaptations for broccolini recipe
Creative broccolini recipe Variations
While this broccolini recipe is already a delicious classic, there are plenty of ways to put your own spin on it. Try swapping out the Parmesan for crumbled feta or goat cheese for a tangier flavor profile. Or, for a Mediterranean twist, add a sprinkle of toasted pine nuts and a drizzle of balsamic glaze.
In the fall and winter months, you can roast the broccolini in the oven instead of sautéing it on the stovetop. Toss the broccolini with olive oil, garlic, and your favorite seasonings, then roast at 400°F until tender and caramelized.
Making broccolini recipe Diet-Friendly
This broccolini recipe is already quite healthy, but it can be easily adapted to fit various dietary restrictions and preferences.
For a gluten-free version, simply omit the Parmesan cheese or use a dairy-free Parmesan alternative. The broccolini itself is naturally gluten-free.
To make it vegan, skip the Parmesan and use a plant-based oil, such as avocado or coconut oil, instead of olive oil. You can also try sprinkling the broccolini with nutritional yeast or a sprinkle of almond or cashew parmesan for a savory, umami-rich topping.
For a low-carb or keto-friendly meal, serve the broccolini recipe alongside grilled chicken or roasted salmon. The broccolini itself is low in carbs and high in fiber, making it a great option for those following a ketogenic diet.
Frequently Asked Questions
Q: Can I use regular broccoli instead of broccolini?
A: While you can substitute regular broccoli for broccolini in this recipe, the texture and flavor won’t be quite the same. Broccolini has longer, more tender stems and a slightly sweeter, more delicate taste compared to regular broccoli. If using broccoli, you may need to adjust the cooking time to ensure it doesn’t become overcooked and soggy.
Q: How do I know when the broccolini is perfectly cooked?
A: The broccolini is ready when it’s tender but still has a slight bite to it. You’ll know it’s done when a knife can easily pierce through the stems, and the florets are bright green and slightly charred. Avoid overcooking, as this can make the broccolini mushy.
Q: Can I make this broccolini recipe ahead of time?
A: Yes, you can absolutely make this broccolini recipe in advance. Simply prepare the broccolini up to the point of adding the lemon juice and Parmesan, then store it in the refrigerator for up to 4 days. When you’re ready to serve, reheat the broccolini in a pan with a bit of olive oil or butter until heated through, then finish with the lemon and Parmesan.
Q: How can I adjust the serving size of this broccolini recipe?
A: This recipe as written serves 4-6 people as a side dish. To adjust the serving size, simply scale the ingredients up or down based on the number of people you’re serving. For example, if you need to serve 8 people, you can double all the ingredients. Adjust the cooking time as needed to ensure the broccolini cooks evenly.
Conclusion
This broccolini recipe is a game-changer, and I know it’s going to become a staple in your kitchen just like it has in mine. The perfect balance of flavors, the delightful texture, and the ease of preparation make it a winner every time.
I encourage you to give this recipe a try and let me know what you think. Share your photos and feedback in the comments – I’d love to hear how it turns out for you. Enjoy!