
I’ll never forget the day I first tried making Beer Can Chicken. It was a hot summer afternoon, and I was craving something a little different for our backyard barbecue. That’s when I stumbled upon this unique recipe, and let me tell you – it was a game-changer!
As I fired up the grill and popped open a cold one, I couldn’t wait to see how the beer would infuse the chicken with its signature flavor. I carefully positioned the bird atop the can, making sure it was sturdy and ready to go. The anticipation was palpable as the enticing aromas started to waft through the air.
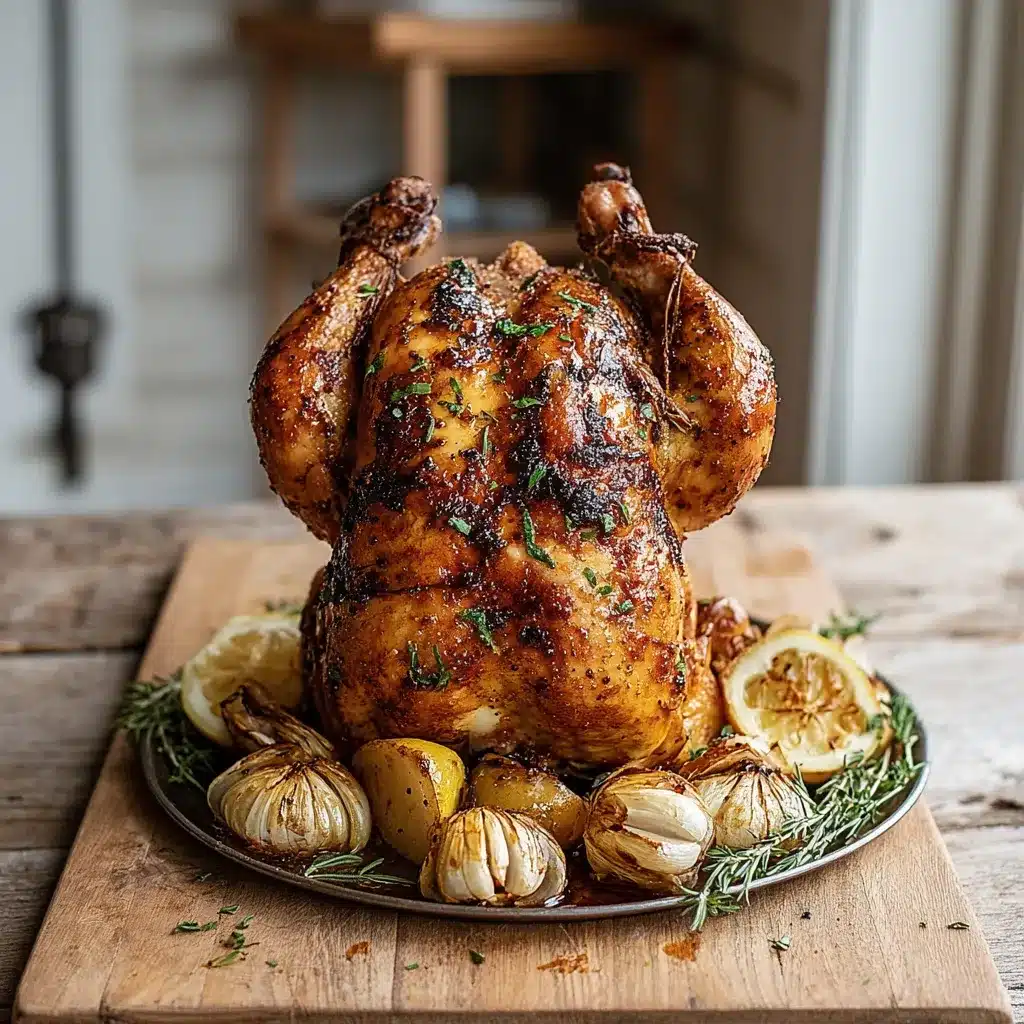
When that first bite of Beer Can Chicken hit my tongue, I was in absolute heaven. The meat was incredibly juicy and tender, with a subtle hint of beer that complemented the savory seasoning perfectly. I knew right then and there that this was going to become a staple in our household.
Why This Beer Can Chicken Recipe Will Become Your Go-To
The Secret Behind Perfect Beer Can Chicken
What sets this Beer Can Chicken recipe apart is the unique cooking method that infuses the meat with incredible flavor and moisture. By placing the chicken directly on top of an open can of beer, the liquid steams the bird from the inside out, resulting in a succulent, juicy final product. The beer also helps to create a deliciously crispy skin that’s guaranteed to have your guests coming back for more.
But the real secret is in the seasoning. I’ve perfected a blend of herbs and spices that perfectly complements the beer flavor, creating a taste sensation that will leave your taste buds dancing. Trust me, once you try this recipe, you’ll never go back to plain ol’ roasted chicken again.
Essential Ingredients You’ll Need
- Whole chicken: Look for a bird that’s around 4-5 pounds for the best results.
- Beer: Any type of beer will work, but I prefer a crisp, light lager for a subtle flavor.
- Olive oil: This helps the seasoning stick to the chicken and promotes even browning.
- Dry rub: A blend of paprika, garlic powder, onion powder, salt, and pepper creates the perfect flavor profile.
- Fresh herbs: A few sprigs of rosemary, thyme, or oregano add an aromatic touch.
Step-by-Step Beer Can Chicken Instructions
Preparing Your Beer Can Chicken
Get ready to impress your family and friends with this easy-to-follow Beer Can Chicken recipe. From start to finish, it takes just about an hour and a half, and the results are simply mouthwatering. You’ll need a grill, a sturdy can opener, and a few key kitchen tools to get the job done.
1- Start by patting the chicken dry with paper towels and removing any giblets or excess fat. This will help the skin crisp up beautifully.
2- Rub the entire surface of the chicken, including the cavity, with olive oil. This will help the dry rub adhere and prevent the skin from sticking to the grill.
3- In a small bowl, mix together the paprika, garlic powder, onion powder, salt, and pepper. Generously rub this seasoning all over the chicken, making sure to get it into all the nooks and crannies.
4- Carefully insert the can of beer into the chicken’s cavity, making sure it’s stable and upright. The beer will steam the interior of the bird as it cooks.
5- Place the chicken, beer can and all, onto the preheated grill. Cover and cook for 60-75 minutes, or until the internal temperature reaches 165°F.
6- Once the chicken is cooked through, use tongs to carefully transfer it to a cutting board. Let it rest for 10-15 minutes before carving and serving.
Pro Tips for Success
- For extra flavor, try using a flavored or specialty beer, like a citrusy IPA or a smoky porter.
- Make sure to use a sturdy, full can of beer – an empty can won’t work nearly as well.
- Keep a close eye on the grill to prevent the skin from burning. Adjust the heat as needed.
- Let the chicken rest before cutting into it to lock in all those delicious juices.
Serving and Storing Your Beer Can Chicken
Perfect Pairings for Beer Can Chicken
This Beer Can Chicken is the perfect centerpiece for any backyard barbecue or summer gathering. Serve it alongside grilled veggies, a fresh green salad, or creamy mashed potatoes for a complete and satisfying meal. And of course, you can’t go wrong with an ice-cold beer to complement the dish.
Storage and Make-Ahead Tips
If you happen to have any leftovers (which is doubtful!), you can store the cooked chicken in an airtight container in the fridge for up to 4 days. To reheat, simply place it in a 350°F oven until warmed through.
You can also prepare the dry rub and even the entire chicken in advance. Just season the bird, place it on the beer can, and refrigerate until you’re ready to grill. This makes for easy last-minute entertaining.
Variations and Dietary Adaptations for Beer Can Chicken
Creative Beer Can Chicken Variations
While this classic Beer Can Chicken recipe is a real crowd-pleaser, you can have fun with some creative variations. Try using different types of beer, like a hoppy IPA or a rich, stout. Or mix up the dry rub with your favorite herbs and spices.
You can even take it in a more international direction by basting the chicken with teriyaki, barbecue, or Cajun-inspired sauces. The possibilities are endless!
Making Beer Can Chicken Diet-Friendly
For those following a gluten-free or low-carb diet, you can easily adapt this Beer Can Chicken recipe to suit your needs. Simply swap the regular beer for a gluten-free variety, and adjust the dry rub to be free of any sugars or starches.
Vegans and vegetarians can get in on the fun, too, by using a plant-based “chicken” alternative and a non-alcoholic beer substitute. The key is to focus on the cooking method and flavorful seasoning, which will work beautifully with a variety of protein sources.
Frequently Asked Questions
Q: Can I use any type of beer for Beer Can Chicken?
A: Absolutely! While a light lager or pilsner works great, you can experiment with all sorts of beer styles. Just keep in mind that the flavor of the beer will come through in the final dish, so choose something you enjoy drinking.
Q: How long does it take to cook Beer Can Chicken?
A: The total cooking time for Beer Can Chicken is generally between 60-75 minutes, depending on the size of your chicken and the temperature of your grill. The best way to know when it’s done is to use an instant-read thermometer to check that the internal temperature has reached 165°F.
Q: Can I make Beer Can Chicken in the oven?
A: Yes, you can absolutely bake Beer Can Chicken in the oven! Simply preheat your oven to 375°F, place the beer-can-topped chicken on a baking sheet, and roast for 60-75 minutes, or until the internal temperature reaches 165°F.
Q: How much Beer Can Chicken should I plan for per person?
A: As a general rule, plan for one whole Beer Can Chicken per 2-3 people. This should provide enough servings, with some leftovers, for most gatherings. Of course, appetites may vary, so you can always make two chickens to be safe.
Q: Why is my Beer Can Chicken skin not crispy?
A: If your Beer Can Chicken skin isn’t as crispy as you’d like, there are a few things to try. Make sure to pat the chicken completely dry before seasoning, and consider increasing the grill temperature or broiling the chicken for the last 5-10 minutes to really crisp up the skin.

Mouthwatering Beer Can Chicken Recipe
- Total Time: 75
- Yield: 4-6 servings
Description
This juicy, flavorful Beer Can Chicken is the ultimate summer grilling recipe. The beer steams the chicken from the inside, resulting in a perfectly cooked, tender bird with a crispy, golden-brown skin.
Ingredients
– 1 whole chicken (4-5 lbs)
– 1 (12 oz) can of beer
– 2 tbsp olive oil
– 2 tsp paprika
– 1 tsp garlic powder
– 1 tsp onion powder
– 1 tsp dried thyme
– 1 tsp salt
– 1/2 tsp black pepper
Instructions
1. 1. Preheat your grill to medium-high heat (400°F-450°F).
2. 2. Pat the chicken dry with paper towels and remove the giblets from the cavity.
3. 3. In a small bowl, combine the paprika, garlic powder, onion powder, thyme, salt, and pepper. Rub the seasoning all over the chicken, including the cavity.
4. 4. Carefully insert the beer can into the chicken’s cavity, making sure the chicken is standing upright.
5. 5. Place the chicken directly on the grill grates and close the lid. Grill for 60-75 minutes, or until the internal temperature reaches 165°F in the thickest part of the breast.
6. 6. Remove the chicken from the grill and let it rest for 10-15 minutes before slicing and serving.
Notes
– You can use any type of beer you prefer, but lager or pale ale work best.
– For extra crispy skin, baste the chicken with the beer mixture halfway through cooking.
– Leftover chicken can be used in sandwiches, salads, or soups for up to 4 days.
- Prep Time: 15
- Cook Time: 60
- Category: Main Course
- Method: Grilling
- Cuisine: American
Conclusion
Beer Can Chicken is an absolute must-try for any home cook looking to impress their family and friends. With its unique cooking method, bold flavors, and irresistible juiciness, this recipe is sure to become a new summertime staple in your household. So fire up the grill, crack open a cold one, and get ready to enjoy the best darn Beer Can Chicken you’ve ever tasted. And don’t forget to share your delicious results with me – I can’t wait to see how your Beer Can Chicken turns out!