
Memories of apple crisp with canned apple filling always take me back to cozy fall afternoons in Grandma’s kitchen. The delicious aroma of cinnamon and baked apples would fill the air, and I’d watch, mesmerized, as she sprinkled the crumbly topping over the bubbling fruit. It was a simple pleasure, but one that brought so much warmth and comfort. To this day, that apple crisp with canned apple filling recipe is a cherished family tradition, and I’m excited to share it with you.
Why This Apple Crisp with Canned Filling Recipe Will Become Your Go-To
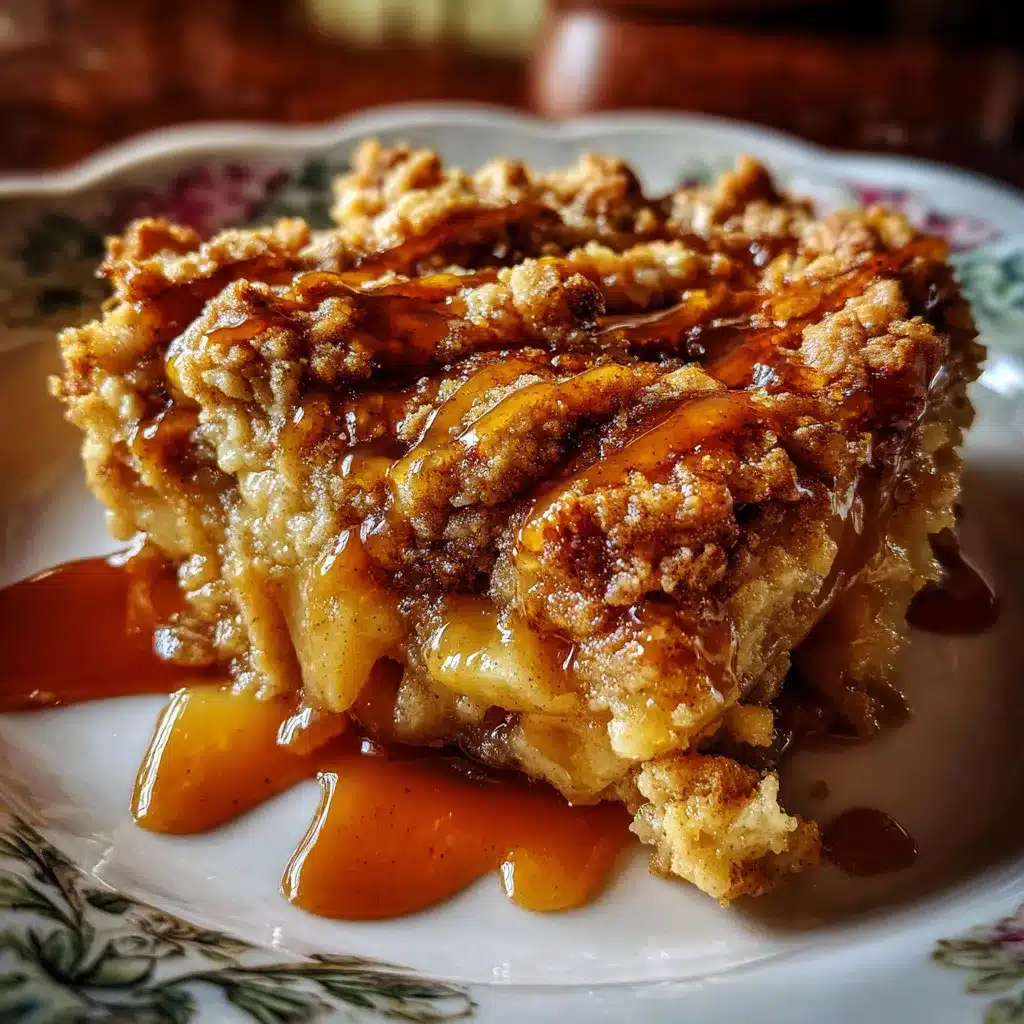
There’s just something so satisfying about the sweet, gooey filling paired with the crisp, buttery topping. This recipe is a real crowd-pleaser, and it’s perfect for any occasion, from cozy weeknight dinners to festive holiday gatherings. Best of all, it’s so easy to make, using a few pantry staples and a can of apple pie filling. No peeling, coring, or slicing apples required!
The Secret Behind Perfect apple crisp with canned apple filling
The key to this apple crisp with canned apple filling is striking the right balance between the rich, crunchy topping and the soft, sweet filling. The topping is made with a blend of flour, oats, butter, and brown sugar that bakes up into a delightful crumble. And the canned apple pie filling provides a flavor-packed base that’s ready in a snap. It’s a match made in heaven!
Essential Ingredients You’ll Need
– Canned apple pie filling: This is the star of the show, providing a delicious, ready-to-use apple filling.
– All-purpose flour: The base of the crumbly topping.
– Old-fashioned oats: For a nice chewy texture in the topping.
– Brown sugar: Adds sweetness and helps create that irresistible crunch.
– Butter: Binds the topping together and gives it a rich, buttery flavor.
– Cinnamon: A must-have spice that enhances the apple flavor.
Step-by-Step apple crisp with canned apple filling Instructions
Preparing Your apple crisp with canned apple filling
This apple crisp with canned apple filling comes together in just a few simple steps. It takes about 45 minutes from start to finish, and you’ll need a 9×13 baking dish and a mixing bowl. Let’s get started!
1- Preheat your oven to 350°F (175°C) and grease your baking dish with a bit of butter or non-stick cooking spray.
2- In a medium mixing bowl, combine the flour, oats, brown sugar, and cinnamon. Cut in the cold butter until the mixture resembles coarse crumbs.
3- Spread the canned apple pie filling evenly in the prepared baking dish.
4- Sprinkle the crumbly topping over the apple filling, making sure to cover it completely.
5- Bake for 30-35 minutes, or until the topping is golden brown and the filling is bubbling.
6- Remove from the oven and let it cool for 10-15 minutes before serving. Scoop and enjoy your delicious apple crisp with canned apple filling!
Pro Tips for Success
– For an extra crunchy topping, try adding some chopped nuts like pecans or walnuts.
– Experiment with different types of canned apple pie filling, like Granny Smith or Honeycrisp, to find your favorite.
– Don’t overmix the topping – you want it to have a nice, crumbly texture.
– Keep an eye on the baking time, as oven temperatures can vary.
Serving and Storing Your apple crisp with canned apple filling
Perfect Pairings for apple crisp with canned apple filling
This apple crisp with canned apple filling is delicious on its own, but it also pairs beautifully with a scoop of vanilla ice cream or a dollop of whipped cream. It’s the perfect cozy dessert for a chilly autumn evening, but it’s also a wonderful treat any time of year.
Storage and Make-Ahead Tips
Leftover apple crisp with canned apple filling can be stored in an airtight container in the refrigerator for up to 4 days. To reheat, simply pop it back in the oven at 350°F (175°C) for 10-15 minutes, or until heated through. You can also make this recipe ahead of time and freeze it, either before or after baking. Just thaw it in the refrigerator overnight before reheating.
Variations and Dietary Adaptations for apple crisp with canned apple filling
Creative apple crisp with canned apple filling Variations
While this classic apple crisp with canned apple filling is hard to beat, you can have fun with different variations. Try adding a handful of dried cranberries or chopped walnuts to the topping. You could also experiment with other types of fruit fillings, like peach or cherry. And for a seasonal twist, use pumpkin or sweet potato pie filling instead of the apple.
Making apple crisp with canned apple filling Diet-Friendly
To make this recipe gluten-free, simply swap out the all-purpose flour for a gluten-free flour blend. For a vegan version, use plant-based butter or coconut oil in the topping and omit the ice cream or whipped cream. And for a low-carb twist, use a sugar-free canned apple pie filling and a sugar substitute in the topping.
Frequently Asked Questions
Q: Can I use fresh apples instead of canned filling?
A: Absolutely! If you prefer to use fresh apples, you’ll need to peel, core, and slice about 5-6 medium apples. Toss the apple slices with 1/4 cup of sugar, 2 tablespoons of flour, and 1 teaspoon of cinnamon before adding them to the baking dish.
Q: How do I know when the apple crisp is done?
A: The apple crisp is ready when the topping is golden brown and the filling is bubbling. You can also test it by inserting a toothpick into the center – it should come out clean when the crisp is fully baked.
Q: Can I make this recipe ahead of time?
A: Absolutely! This apple crisp with canned apple filling is a great make-ahead dessert. You can assemble the entire dish, cover it, and refrigerate it for up to 3 days before baking. When ready to serve, just pop it in the oven and bake as directed.
Q: How do I reheat leftover apple crisp?
A: Leftover apple crisp can be reheated in the oven at 350°F (175°C) for 10-15 minutes, or until heated through. You can also reheat individual servings in the microwave for 30-60 seconds.
Q: Can I use a different type of canned fruit filling?
A: Yes, you can definitely experiment with different types of canned fruit fillings. Try using cherry, peach, or even pumpkin pie filling for a fun twist on the classic.

The Easiest Apple Crisp with Canned Apple Filling
- Total Time: 30
- Yield: 6
Description
Enjoy a quick and easy apple crisp made with a sweet canned apple filling. This simple dessert comes together in just 5 minutes and is perfect for busy weeknights or cozy fall gatherings.
Ingredients
– 1 (21 oz) can apple pie filling
– 1 cup all-purpose flour
– 1 cup old-fashioned oats
– 3/4 cup brown sugar
– 1/2 cup unsalted butter, melted
– 1 teaspoon ground cinnamon
– 1/4 teaspoon ground nutmeg
Instructions
1. 1. Preheat oven to 350°F. Grease an 8×8-inch baking dish.
2. 2. Spread the canned apple pie filling evenly in the prepared baking dish.
3. 3. In a medium bowl, combine the flour, oats, brown sugar, melted butter, cinnamon, and nutmeg. Mix until the mixture resembles coarse crumbs.
4. 4. Sprinkle the oat topping evenly over the apple filling.
5. 5. Bake for 25-30 minutes, or until the topping is golden brown and the filling is bubbly.
6. 6. Serve warm, with a scoop of vanilla ice cream if desired. Enjoy!
Notes
For a crisper topping, you can add 1/4 cup chopped walnuts or pecans to the crumble mixture. The apple crisp can be stored in the refrigerator for up to 4 days.
- Prep Time: 5
- Cook Time: 25
- Category: Dessert
- Method: Baking
- Cuisine: American
Conclusion
This apple crisp with canned apple filling is a true comfort food classic that’s sure to become a new family favorite. With its irresistible combination of sweet, gooey filling and crisp, buttery topping, it’s a dessert that’s hard to resist. So go ahead and give this easy recipe a try – I promise it won’t disappoint! And be sure to let me know how it turns out. I’d love to hear your thoughts and see your photos. Enjoy!